

Ava Preview: MRM Film Emulation’s First Flight
On November 26th I released a short scene from early in Ava, as way to apologize for missing the release date of the trailer. Paradoxically, editing a five minute scene is much less complicated than editing a 2 minute trailer.
While the piece is only a small part of the film, it is the first impression of the final movie and I wanted to make sure that the visuals stood up to a quality level similar to what I expect for the feature.
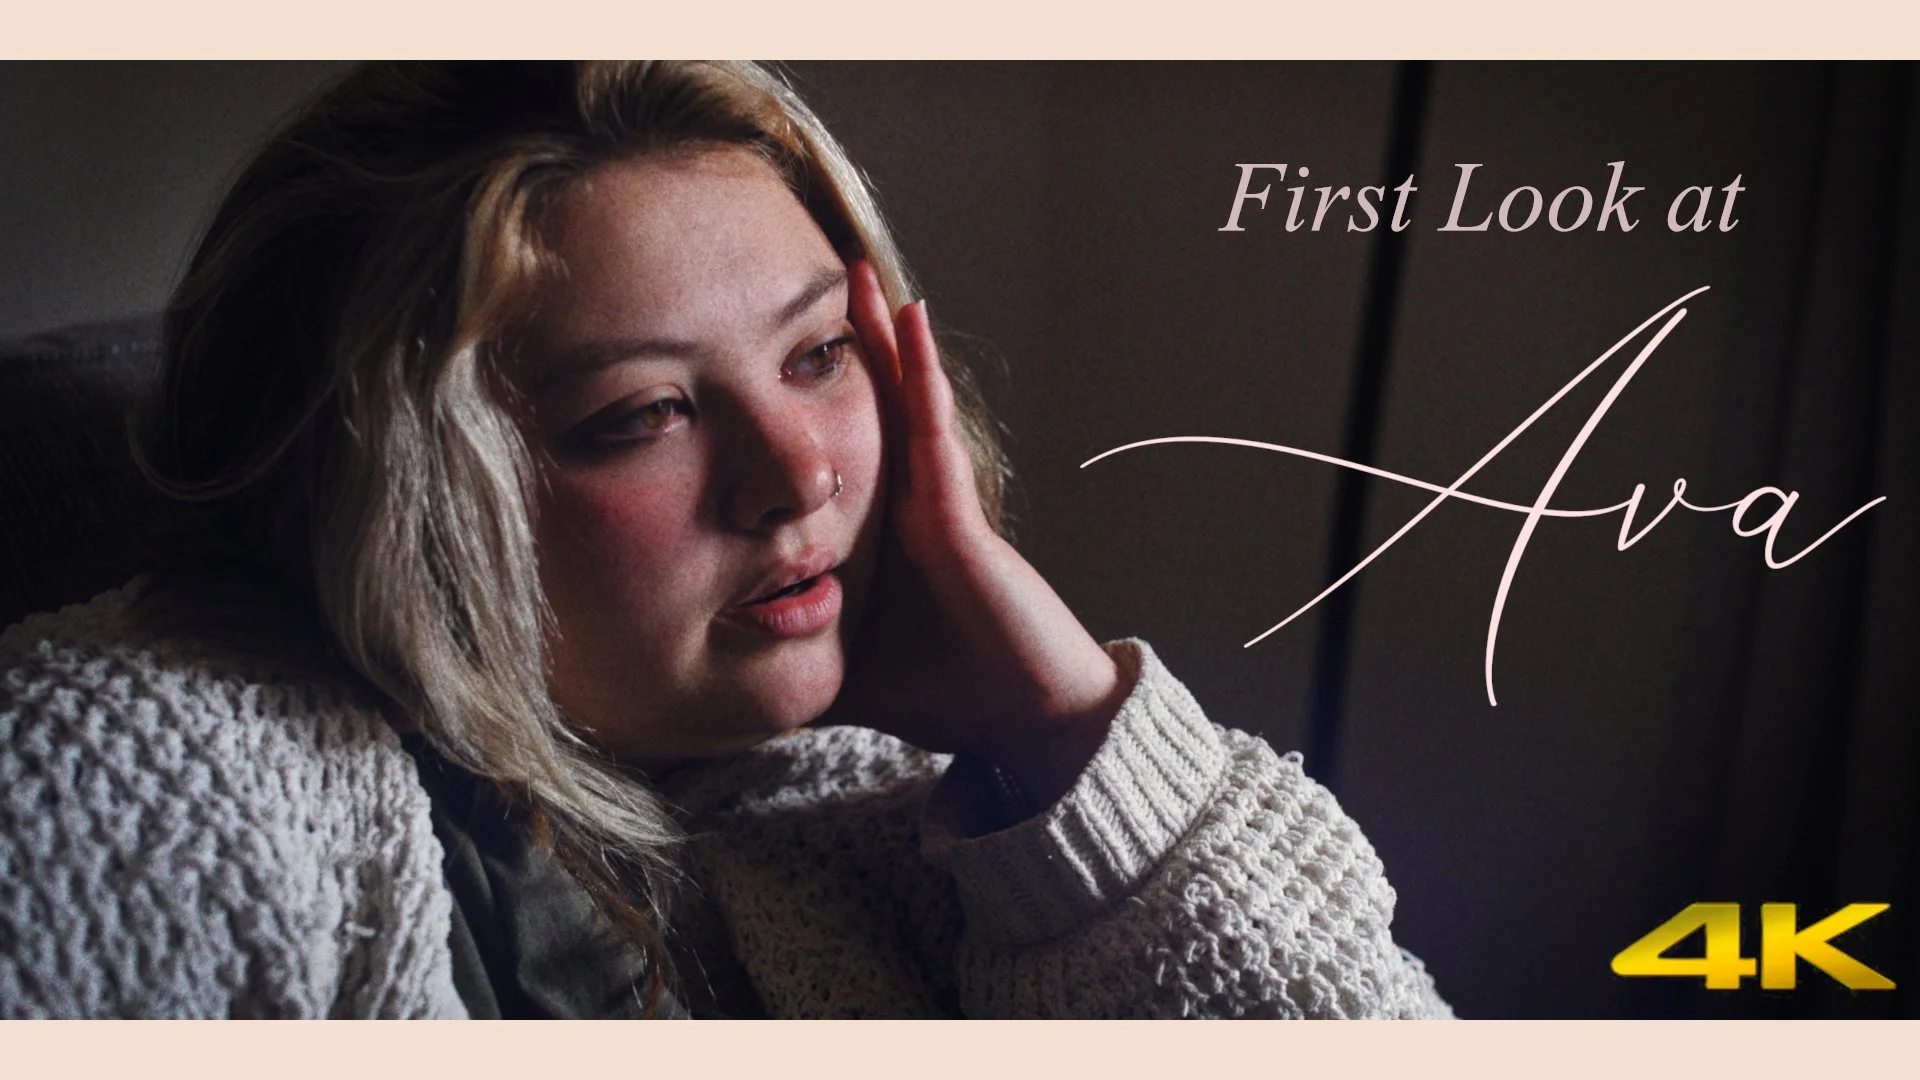
In case you missed it, here’s the scene:
Part 1: Choosing The Scene
There were three release candidates for this scene preview, all of which are from the first half or so of the film. One scene sees Ava and the secondary protagonist Maggie retrieving a laptop and having a conversation about Ava’s past, the other had us follow Ava through a short day, speaking with her father, and introducing Maggie.
However this scene (which I call the Dr. Enos scene) was chosen because it was the most visually consistent and acted as a good set up for the rest of the film.
Once the scene is selected, I would usually select a central image to base the grading off of. Luckily, it’s the key art I’ve been using for months.

Part 2: The Technical Part Of The Look
The grading process of Ava is layered, but the initial look is very simple.
The basic node structure for each clip is made of four nodes: Exposure->Saturation->Curve->Highlight/Shadow Desaturation.*
*There are masks and other per-shot adjustments, but nothing in this scene so we’ll save that for another article.
Exposure: So this is where the year+ of researching this film emulation pipeline comes into practice. To facilitate consistent, believable results each clip has to be corrected first. This means putting the highlights and shadows where they belong in the histogram technically, with almost zero creative license. This part is easy, but not very interesting.
Saturation: there are multiple ways of effecting saturation, especially in DaVinci, but the method I chose seems to give me the best results without making any nuclear greens or oranges like the slider can. This method is using the RGB channels, and saturating through that. For most clips, I change the base saturation from 1.00 to 1.50, in the Red, Green, and Blue channels to give a pretty even wash of color across the image. Some specific clips are dropped to 1.20 or similar values depending on the color of the scene.
Curve: Simple S-Curve. This is where the creativity gets a chance to work because the rest of the pipeline is pretty rigid. Each clip is adjusted as needed.
Highlight/Shadow DeSat: This is probably the most important part of this section of the pipeline. By using the Luma vs Saturation curves, I’m able to minimize a lot of the side effects of digital imaging. In actual film, the negative becomes thinner the more it’s exposed to light. This leaves almost zero color information in blown out sections of an image. Digital is the opposite (before clipping); in the case of most digital sensors, the more exposed an object is the more saturated it become, leading to what I call “nuclear colors”.
By desaturating the image as it approached clipping white or black, it leads to a more natural/filmic color rolloff.
Detour: The “Film Look” Doesn’t Exist
The reason no one has been able to crack “the film look” is because it doesn’t exist. There are a thousand types of shooting film, with a thousand different gauge sizes, a thousand different print stocks, and a thousand more development processes that make it possible for Blade Runner, King Kong, and Star Wars to all be shot on “film” and look nothing alike.
Similar to how modern movies like Endgame, Annihilation, and The VVitch can all be shot on various flavors of Alexa and look nothing alike at all.
Okay, so there’s no “film look”, so what was the point of me spending a year plus of my life studying film emulation? The process I’ve developed has adopted the idea of creating not just a “film look”, but a custom film stock. Something that effects an image predictably and consistently. The way I developed this was by studying films I liked, and wanted to reference in the visuals of Ava.
Here is a small look book of reference images I sourced throughout 2020.
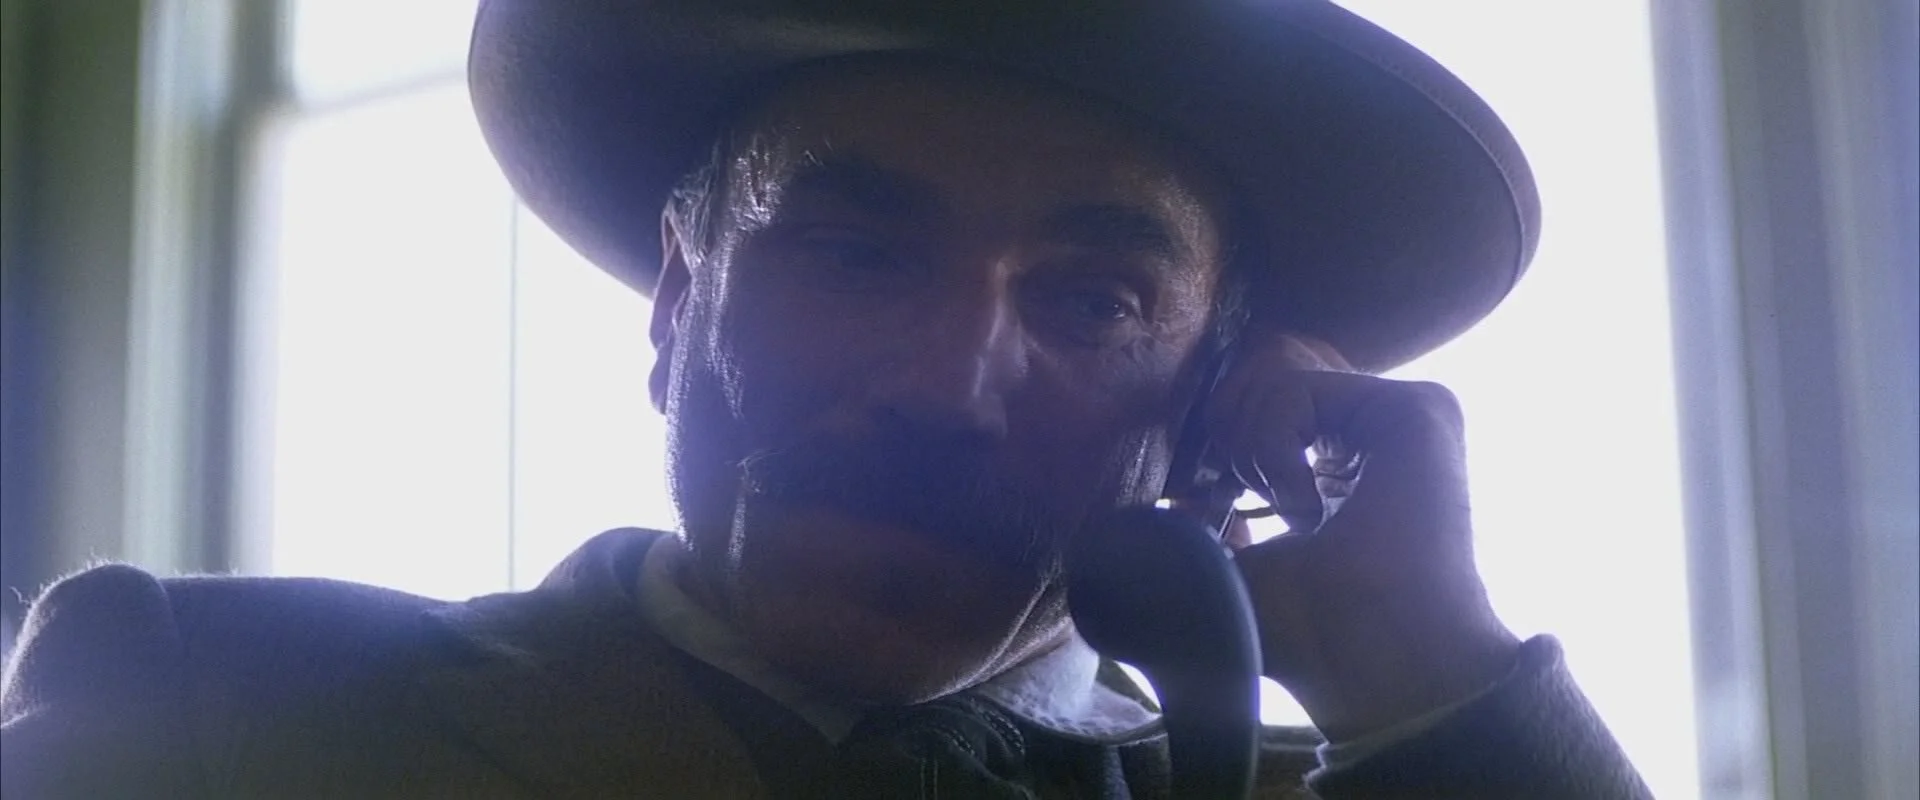
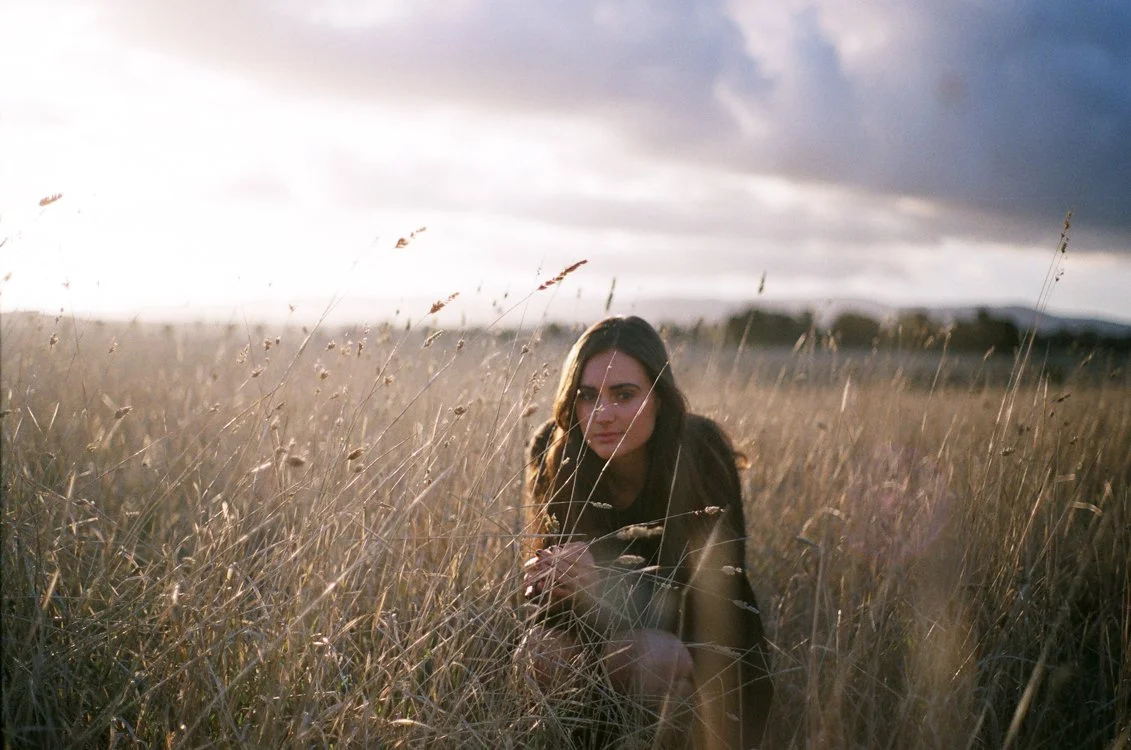
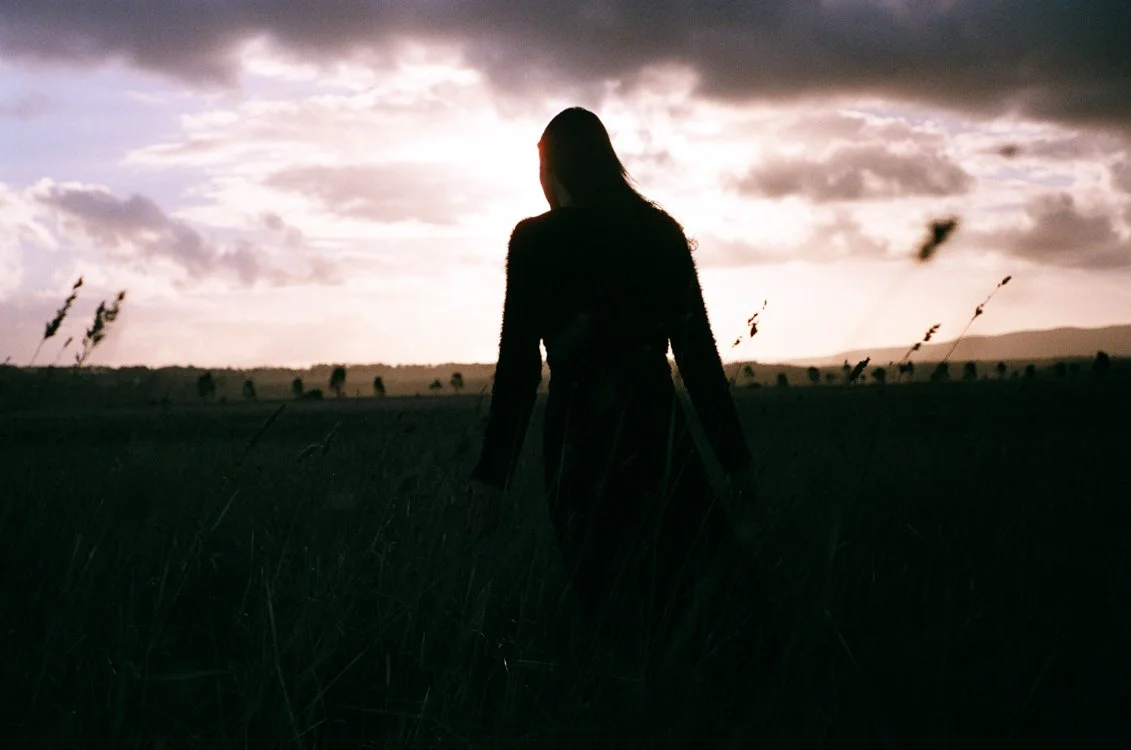
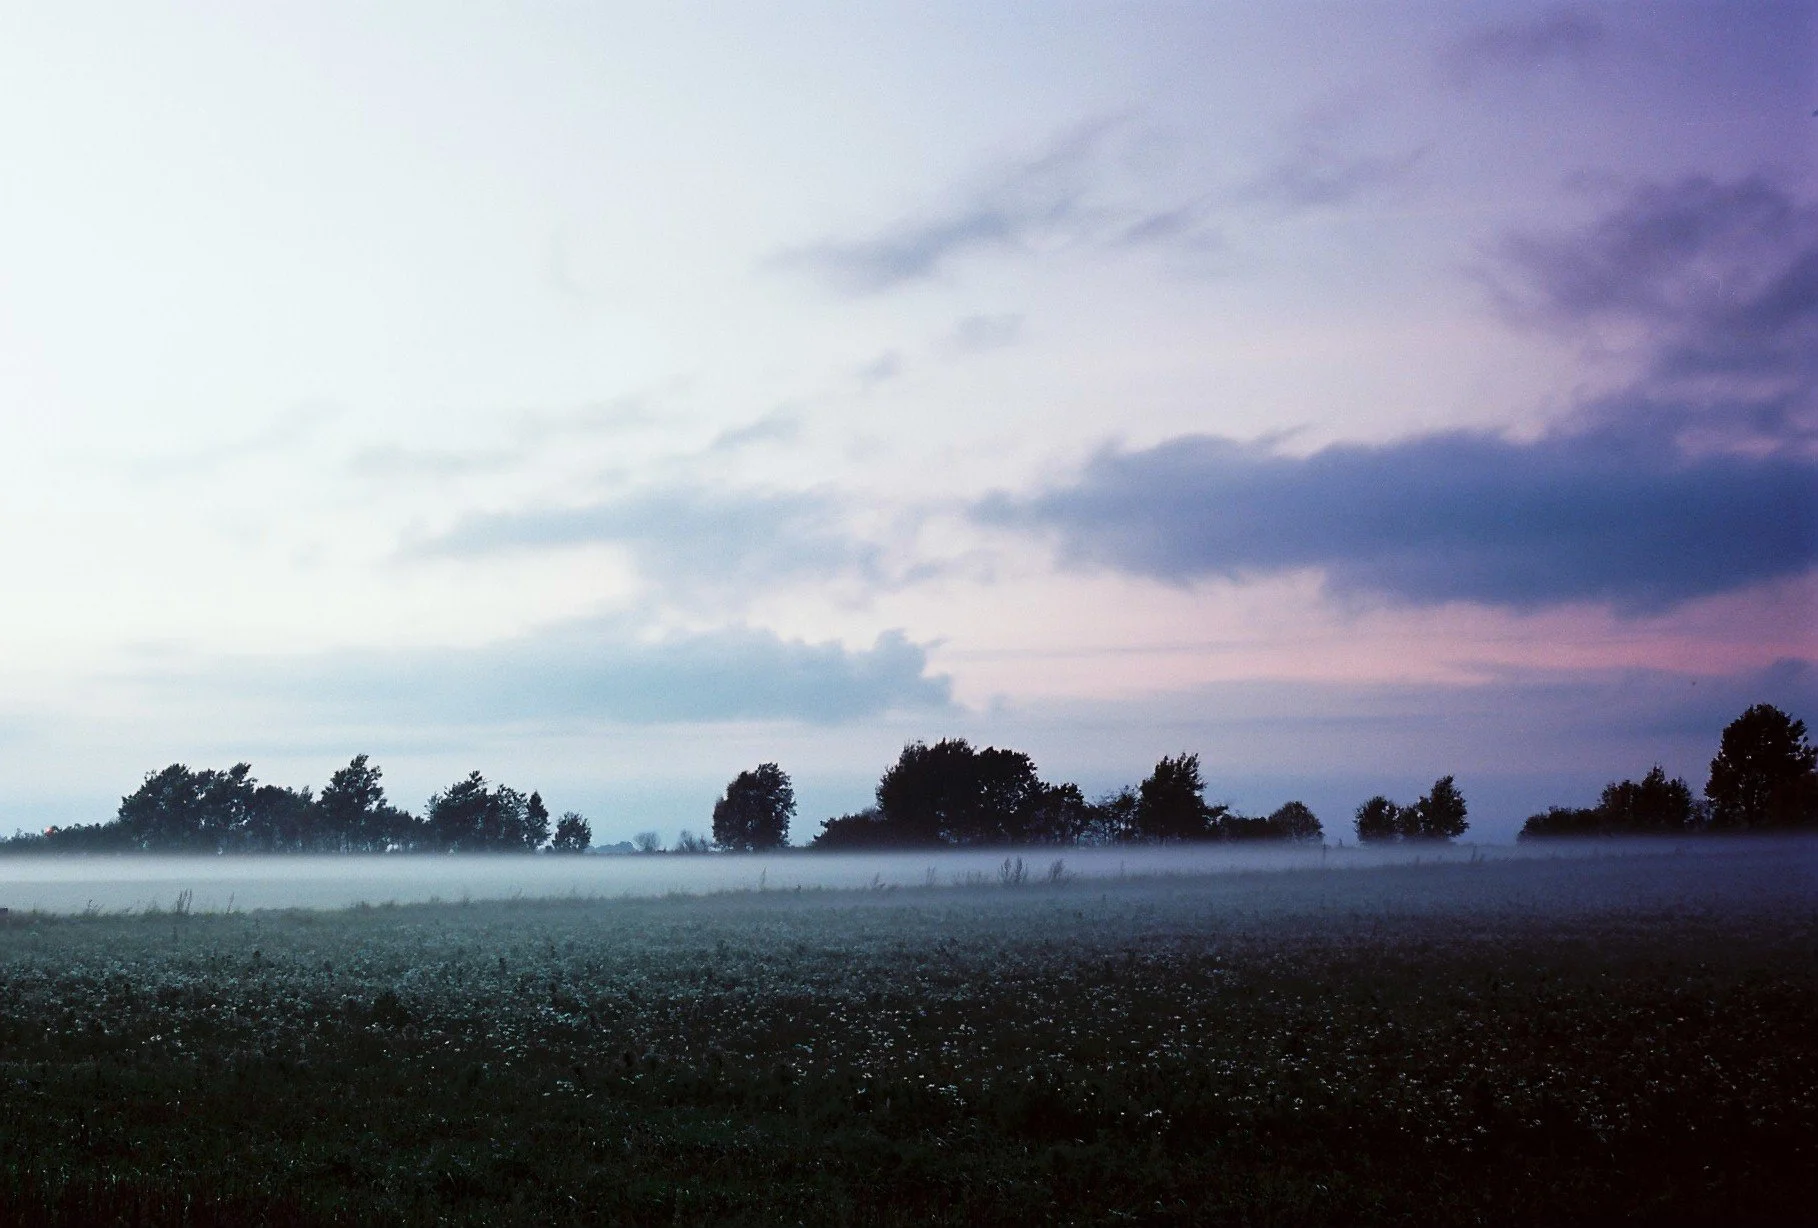

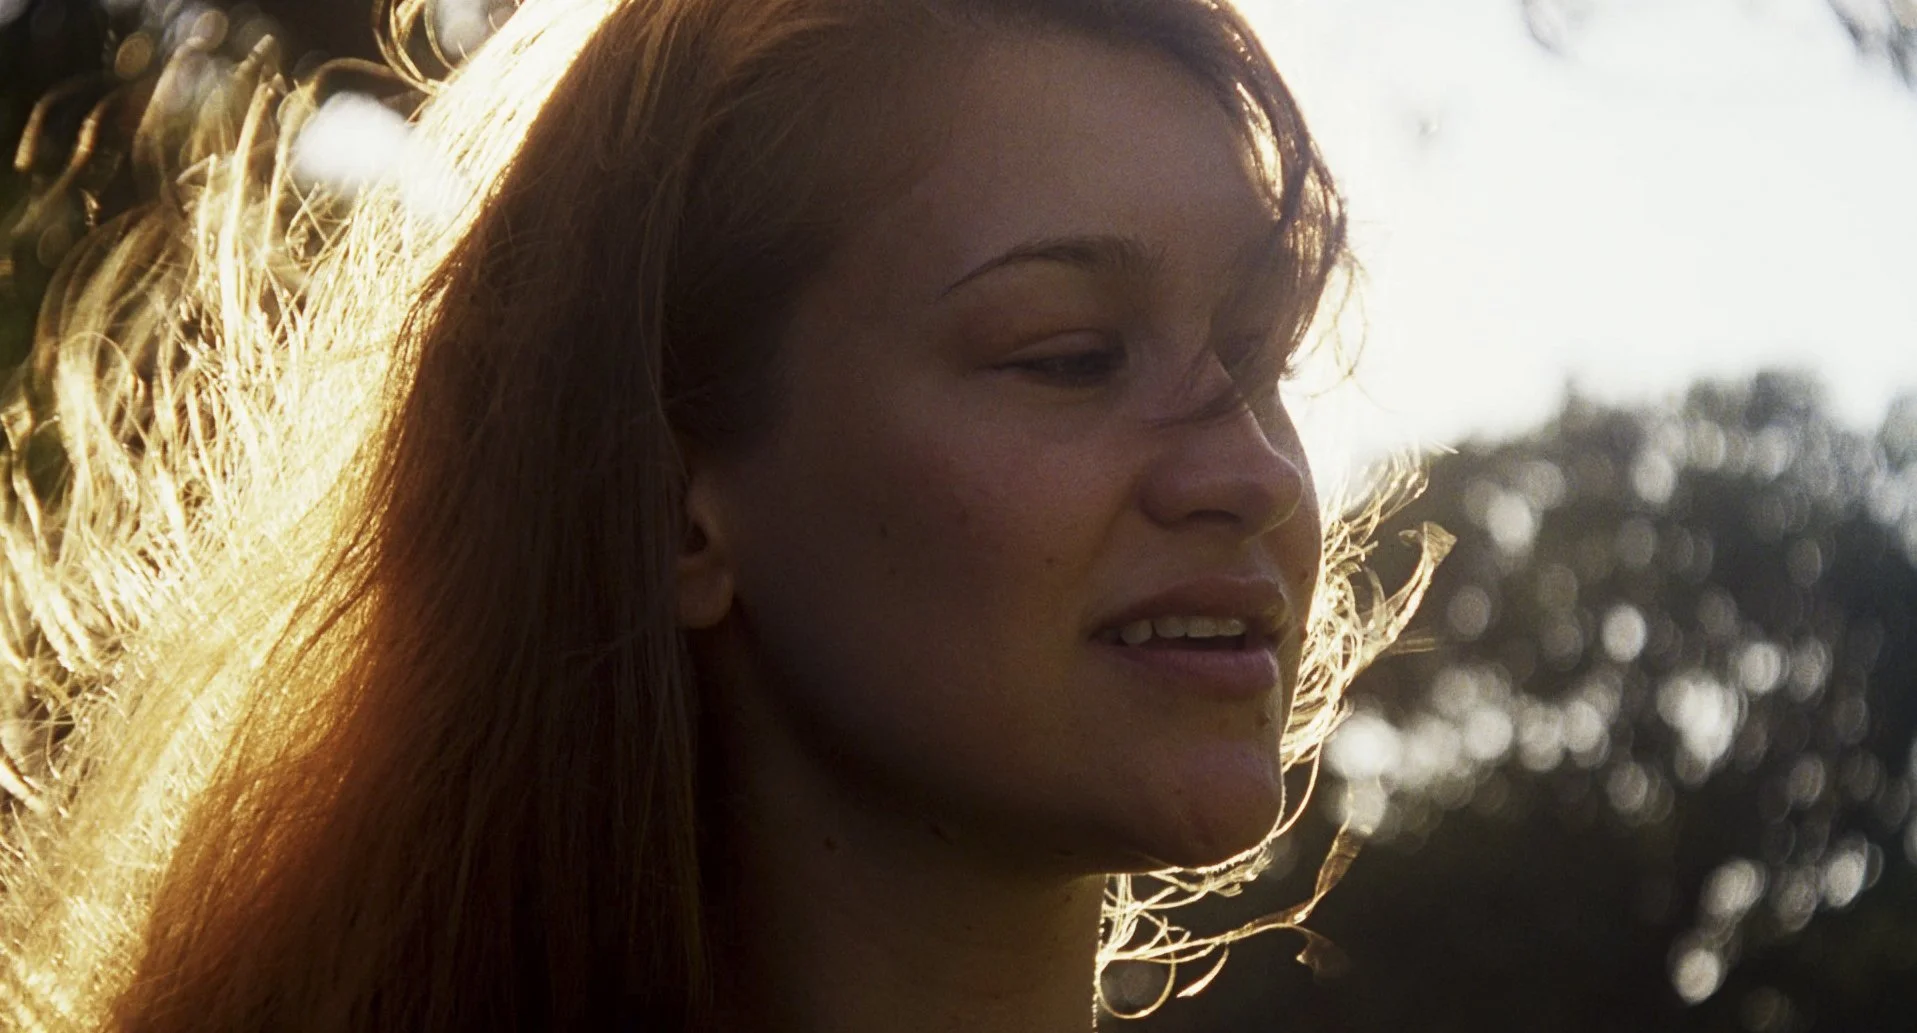

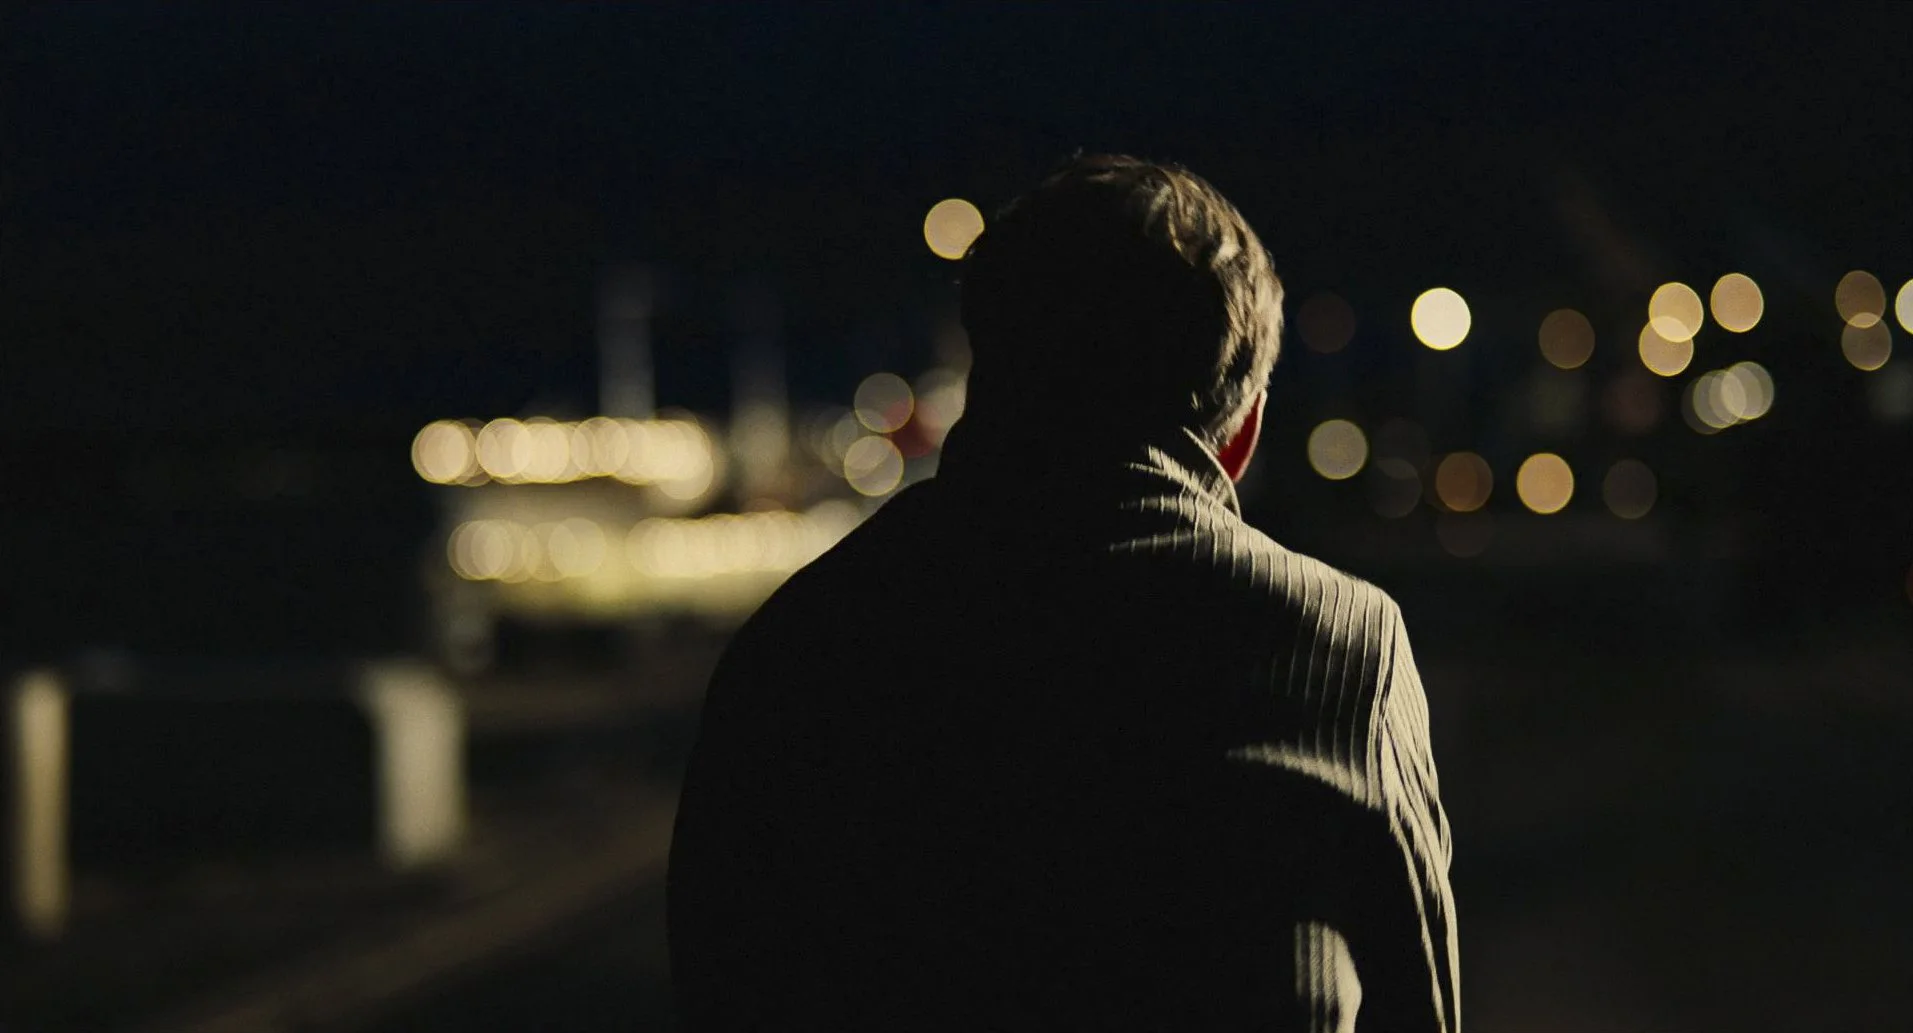
Most of the look of these images is based on the lenses used, rather than the film stock. Due to the very clean lens I chose for shooting this film, almost all aberrations and bloom would be added in post.
Part 3: The Effects Layer
There are three main adjustment layer stacked above the footage: Halation->Bloom->Streaks
Halation: The most subtle and recently very VERY popular topic in the film emulation community. While originally I developed my own halation process, the built in effect in DaVinci brings be 95% of the quality with a tenth of the work. The precise values are still a work in progress, but expect those values in a later article.
Bloom: Early on in the development of Ava I had planned to invest in either a Black ProMist filter, or a CineBloom 10% filter. However, each of these filters are expensive, and the CineBloom, while cheaper, was out of stock for months.
This led to early experimentation with bloom effects, inspired by Halo 3 and films like Days Of Heaven. These tests proved promising, and allowed for far more control on final image clarity than a baked-in filter could ever offer. Since Ava was not a quick-turnaround project, the extra finesse work in post did not matter.
Streaks: This is a specific look I wanted to add to the film as a way of distinguishing it. I’m a huge fan of the anamorphic look, but hate the theoretical workflow involved with actual anamorphic lenses (for my own work). In my first film, Abigail, I made a custom aperture disc for both lenses on that film to give it a unique look. For Mockingbird, I used the gorgeous Helios 44-2 with an oval aperture disc. For Ava, I decided on a full spherical set up due to the handheld and more fluid shooting style of this film. However I still wanted to implement some anamorphic elements to the post processing. This led to a faint, bluish streak/smear across all highlights. This is most visible in this scene on Ava’s jacket, as well as the open window.
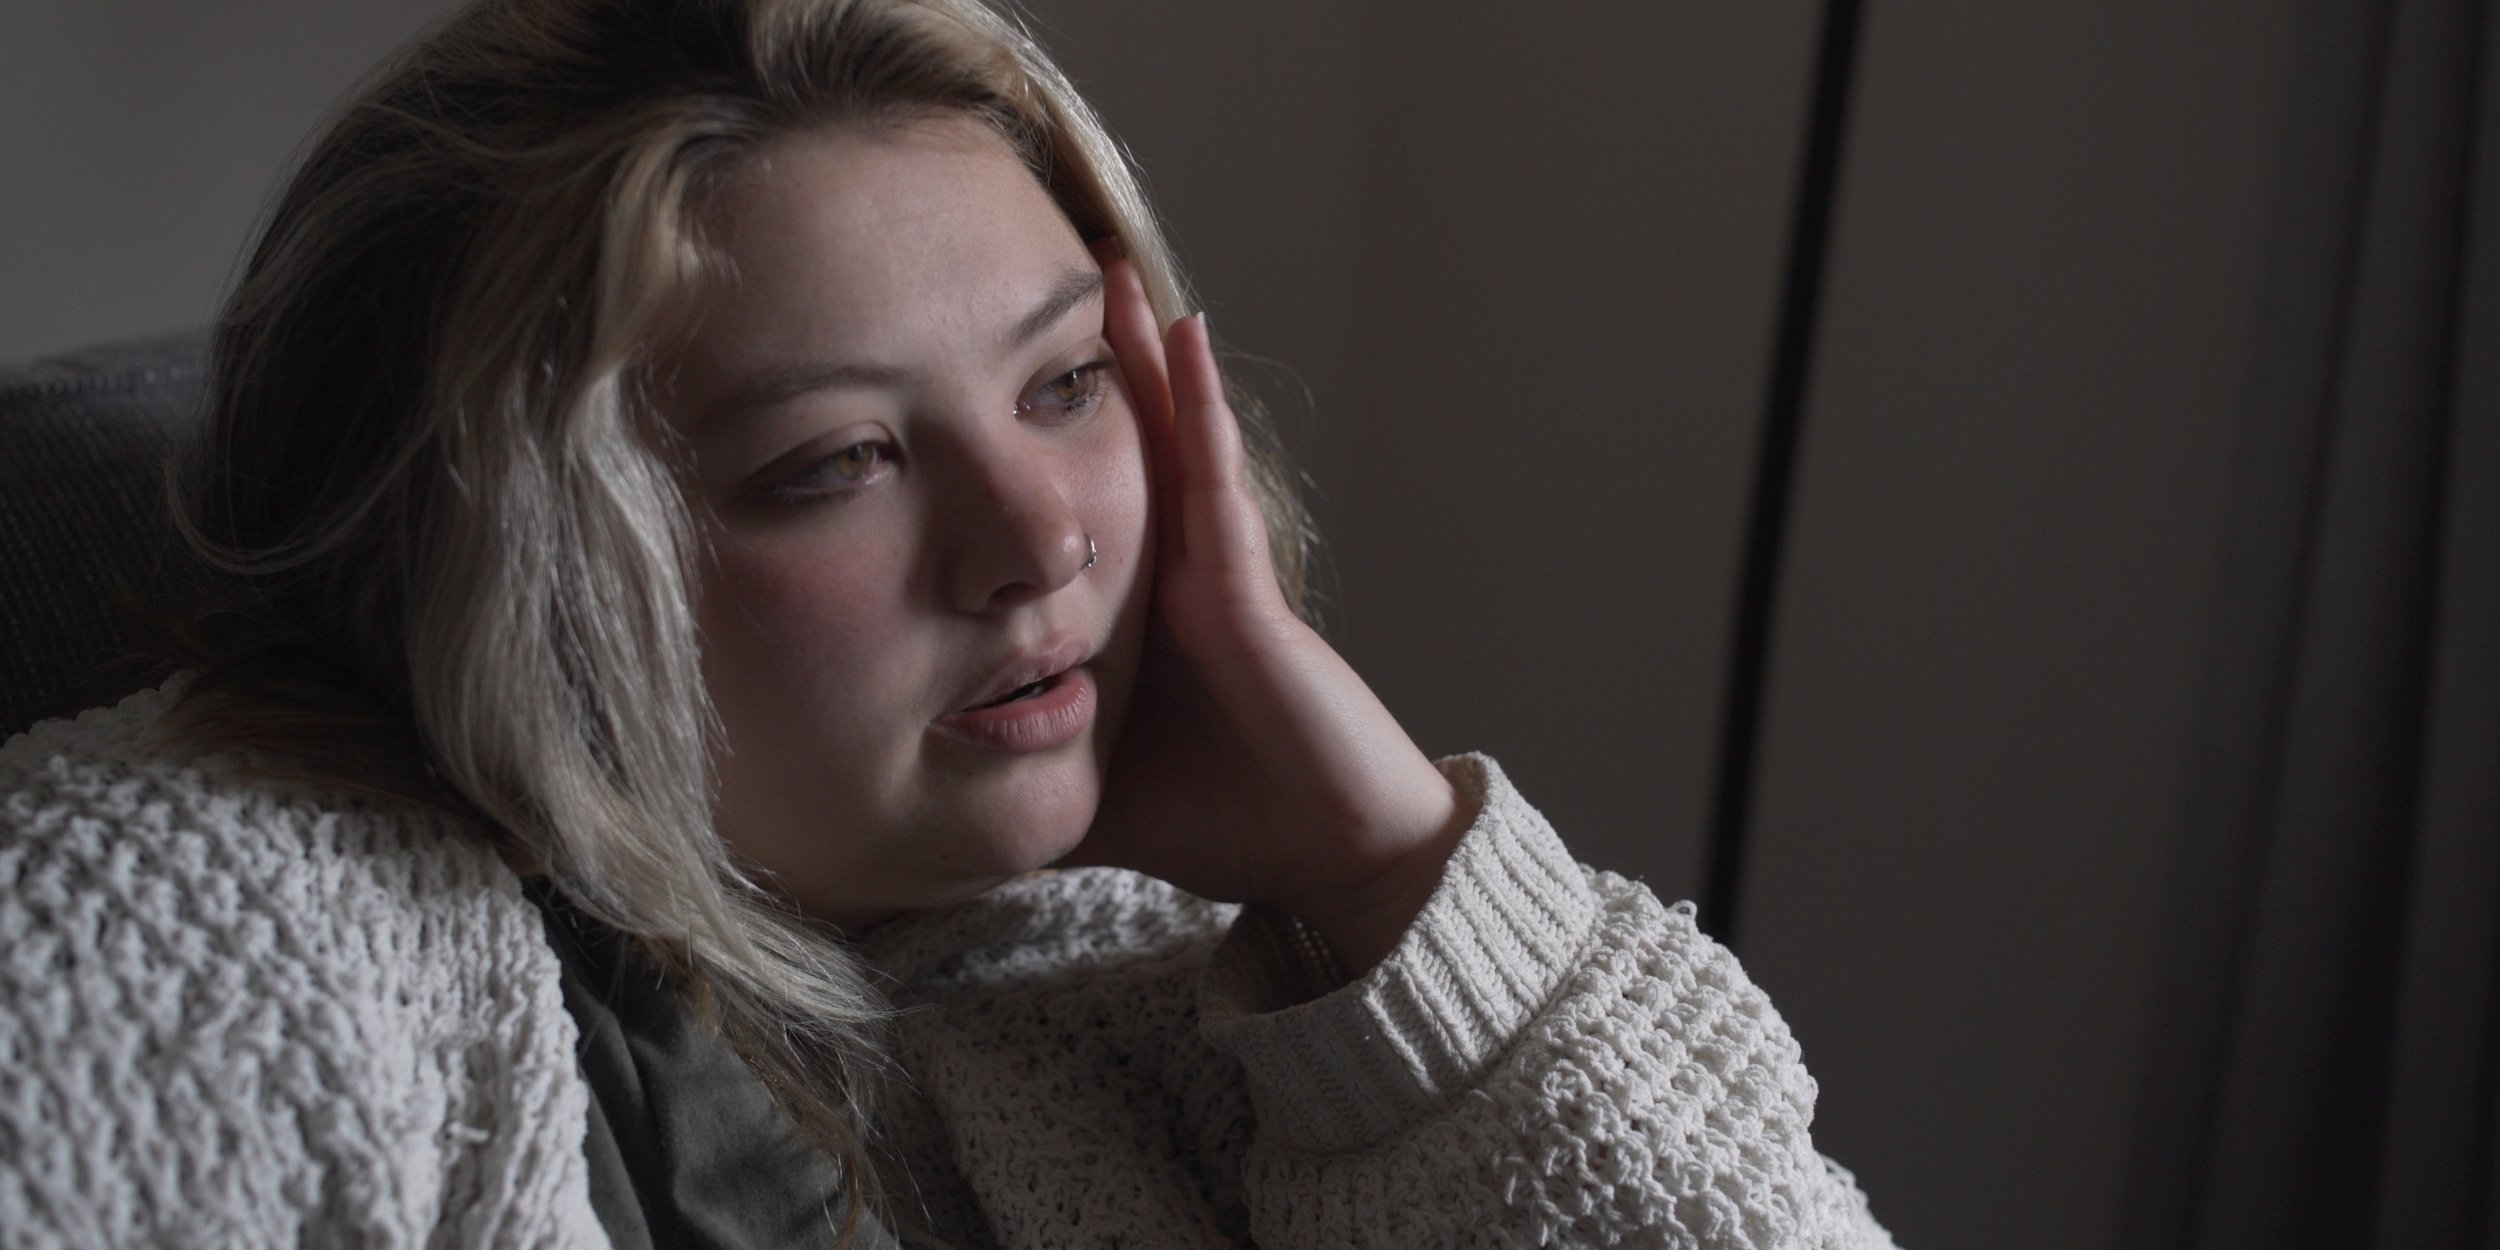
Before Grade: ProRes LT at 4K, Custom Cine4 gamma.

After Grade: Fully processed through MRM Film Pipeline.
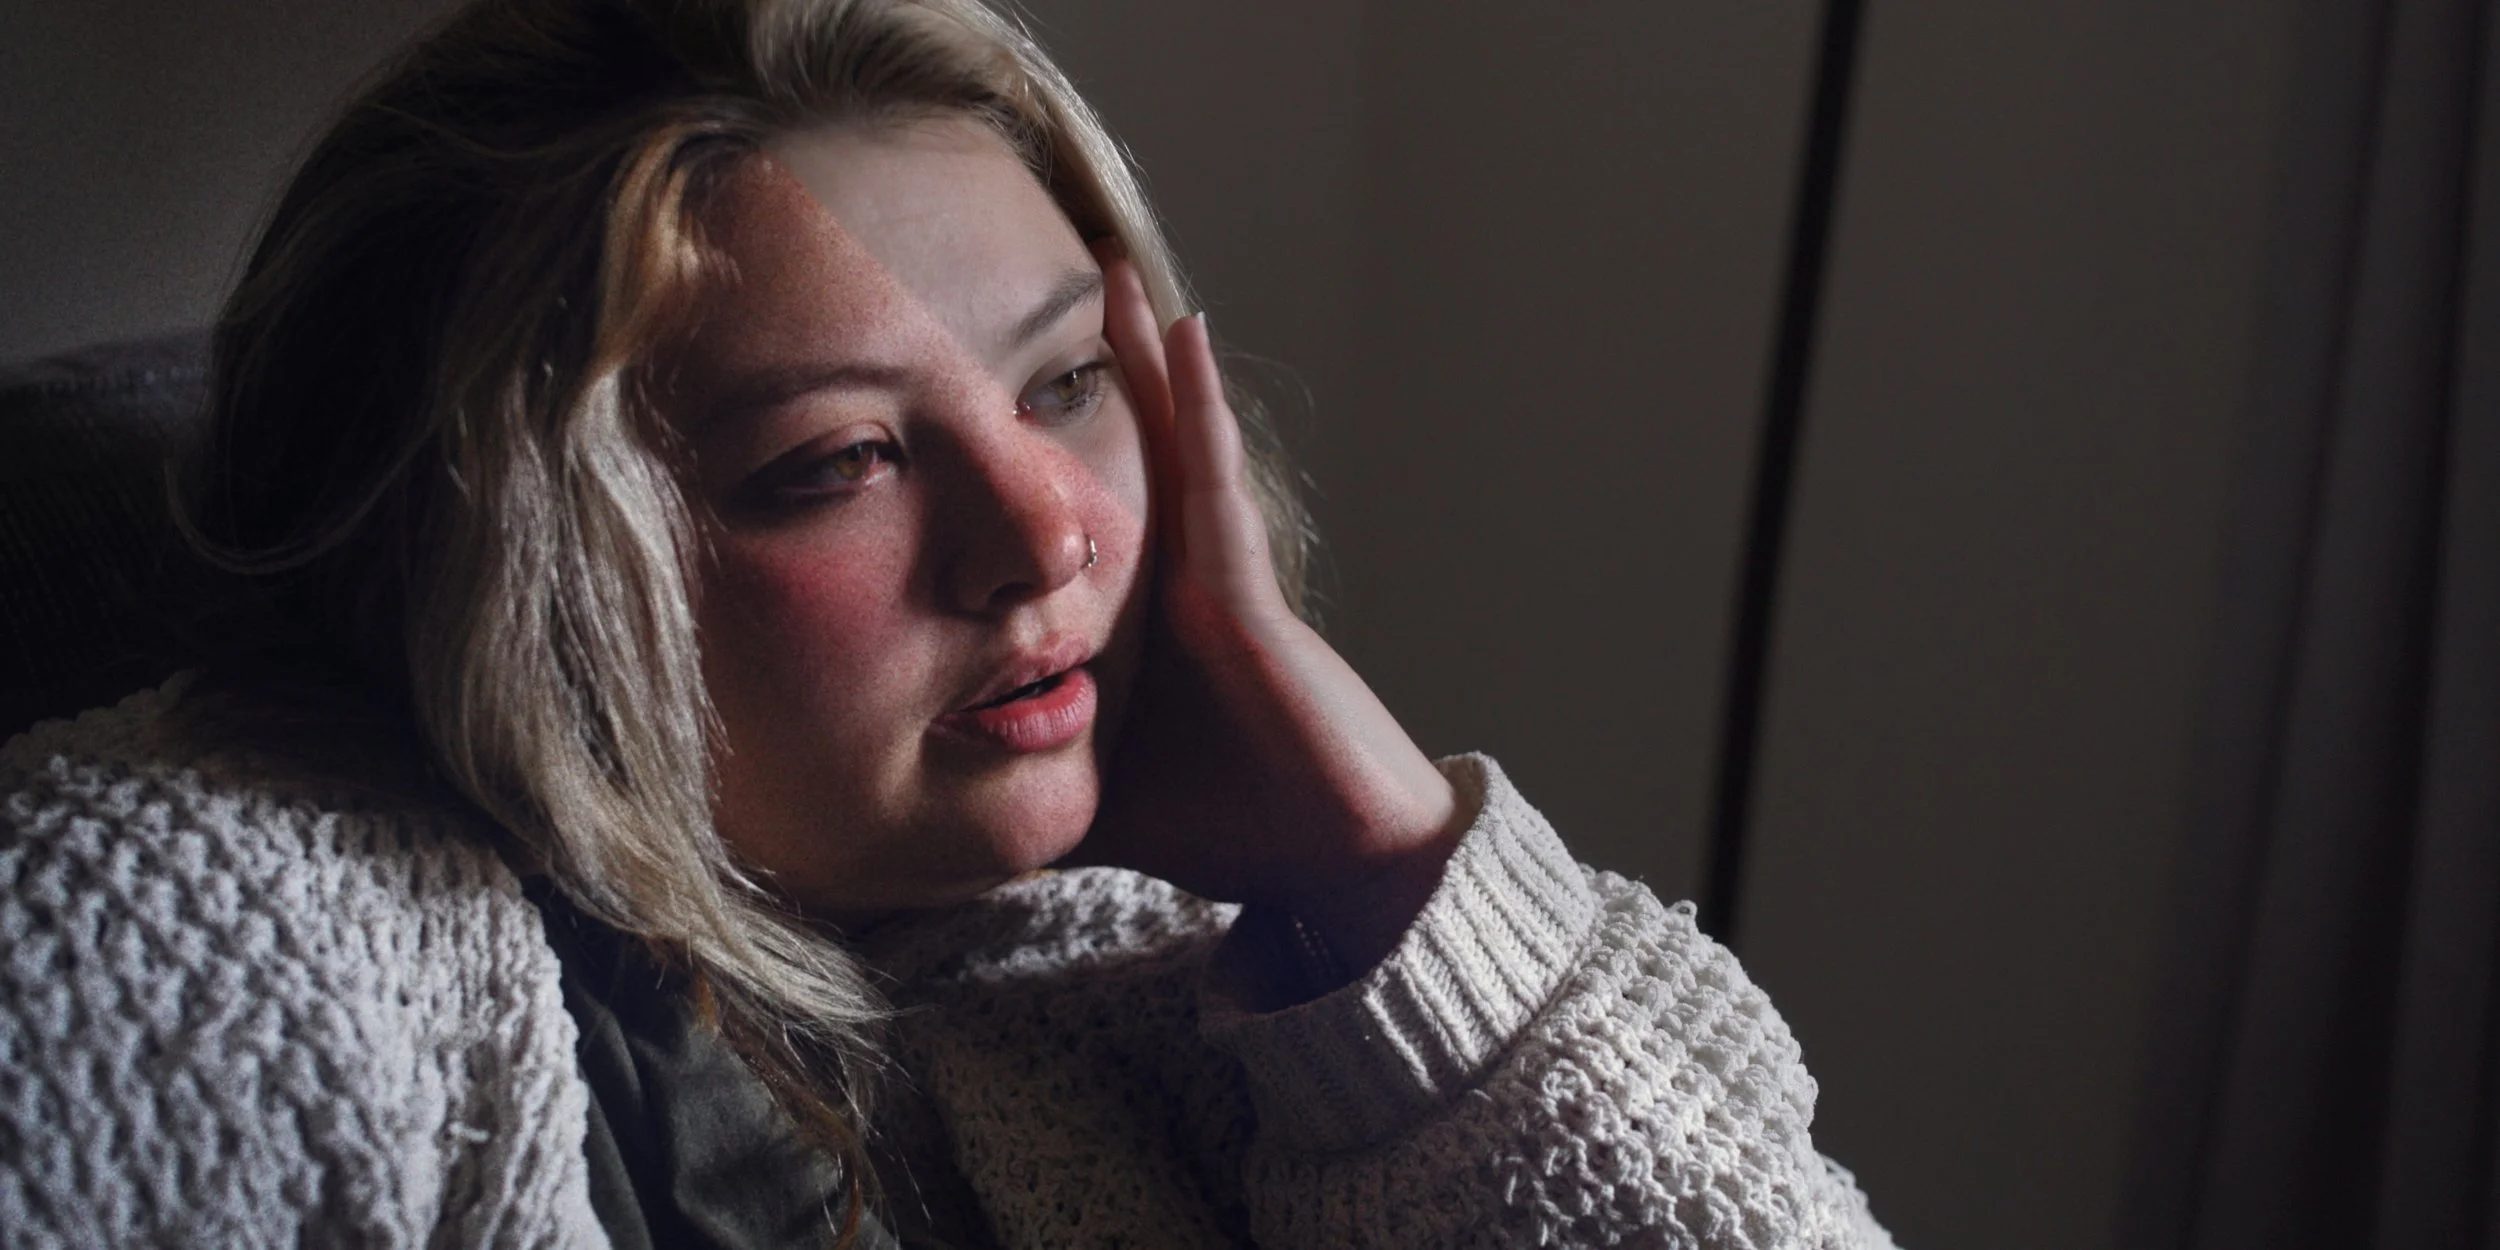
Before/After split.
Part 4: Grain
Grain is at once the most important and most superfluous part of the process, which is why it gets its’ own section.
HolyGrain, GorillaGrain, and even the built in DaVinci film grain with get you 90% of the effect. But that 10% is the difference between an overlay and a simulation.
The most advanced film algorithm that I know of, that is publicly available, is from DeHancer. It rebuilds the image dynamically, and places grain in a physically plausible way. It also easily quadruples render times, which for a two hour film being rendered on a single laptop is far from ideal and probably totally impractical.
So how do I address this? I am one of those nerds who cares about the difference between an overlay and a simulation, but I don’t own DeHancer, nor do I want to blow up my render times so severely for a result that only I would notice.
I decided that the most accessible grain, is the best grain.
Since I was already using the DaVinci Halation OFX plugin, I decided to append the grain. Within the node I used the detail loss settings and added some astigmatic blurs to give the grain a better presence. No guarantee this’ll be the final grain process, but it is the version I used in this sneak preview, and so far no one has cared.
Conclusion
The past year and a half of my life has been split between multiple projects, but this film emulation process has been the constant. The process has changed a lot, but also remained remarkably consistent in its’ goal. Due to my huge amount of reference images, I was able to define what I was aiming for before building the gun, so to speak. This meant the process was tailored very heavily to my needs. While this is awesome for Ava, it means the process with have to be totally rebuilt for any future projects that don’t have the same strategic goals as Ava does.
The film emulation process is well documented on here, and hopefully all the theory thrown in with it will allow you to take what’s important from this, and adapt it to your own needs. If you find any of the information in this or my other articles useful, please share with me whatever you end up using the information for. It’s always neat to see what other filmmakers do.