The Camera, The Lens, and 4K Acquisition: Designing The Look of Ava, Part 2
This article is a follow up to this one written about the lighting of Ava.
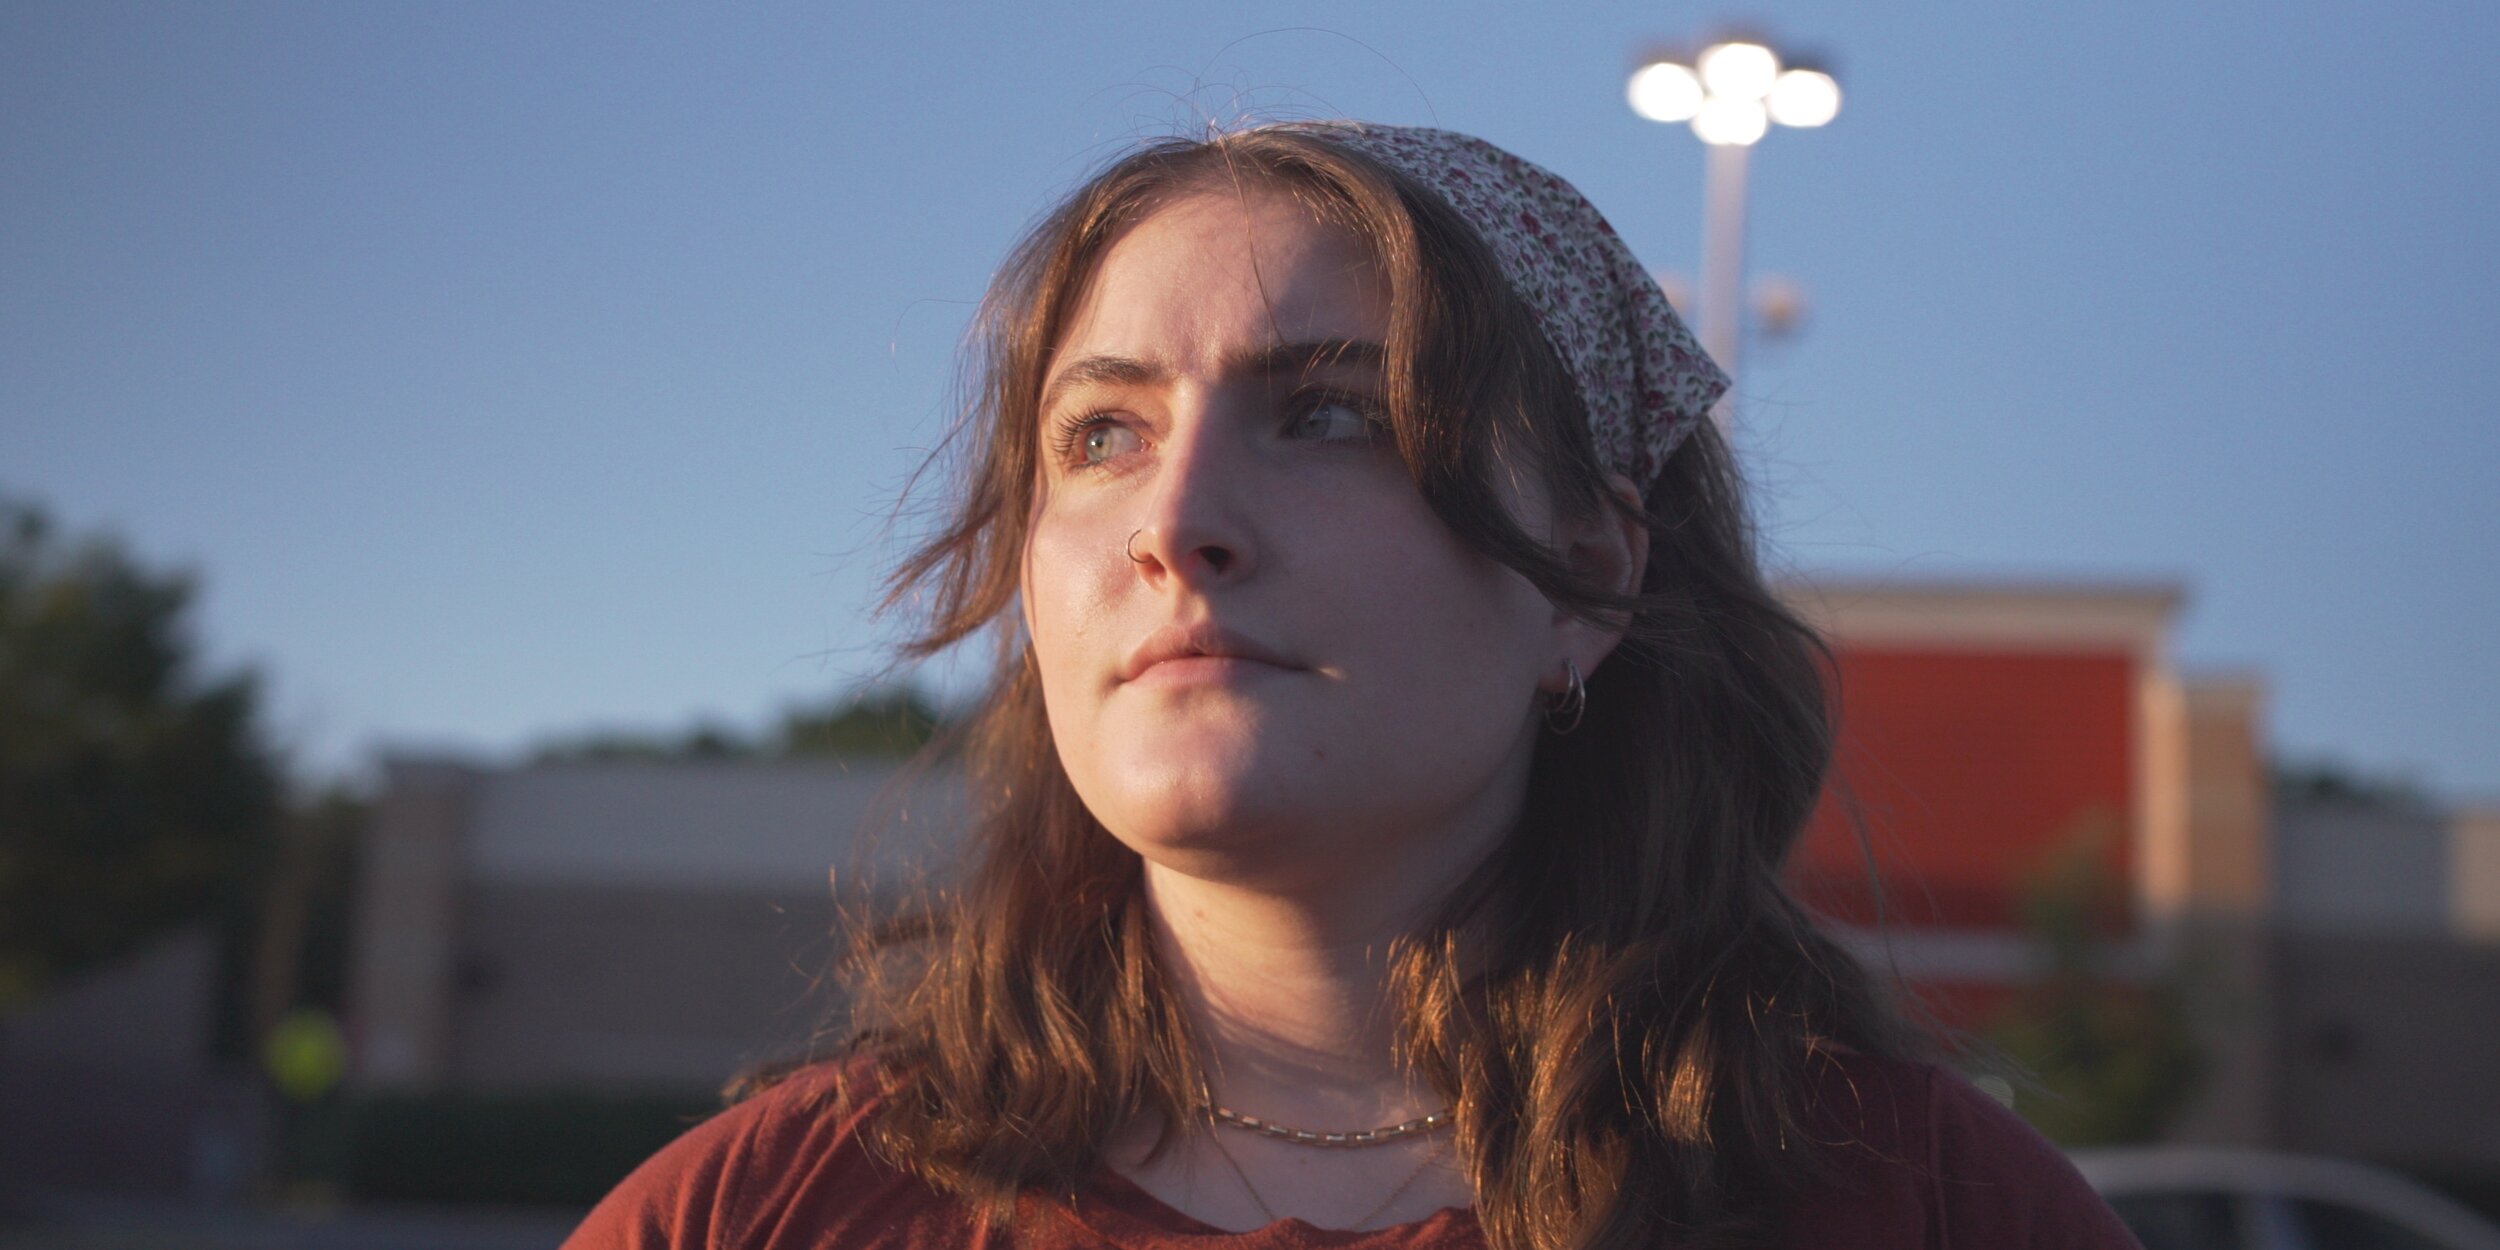
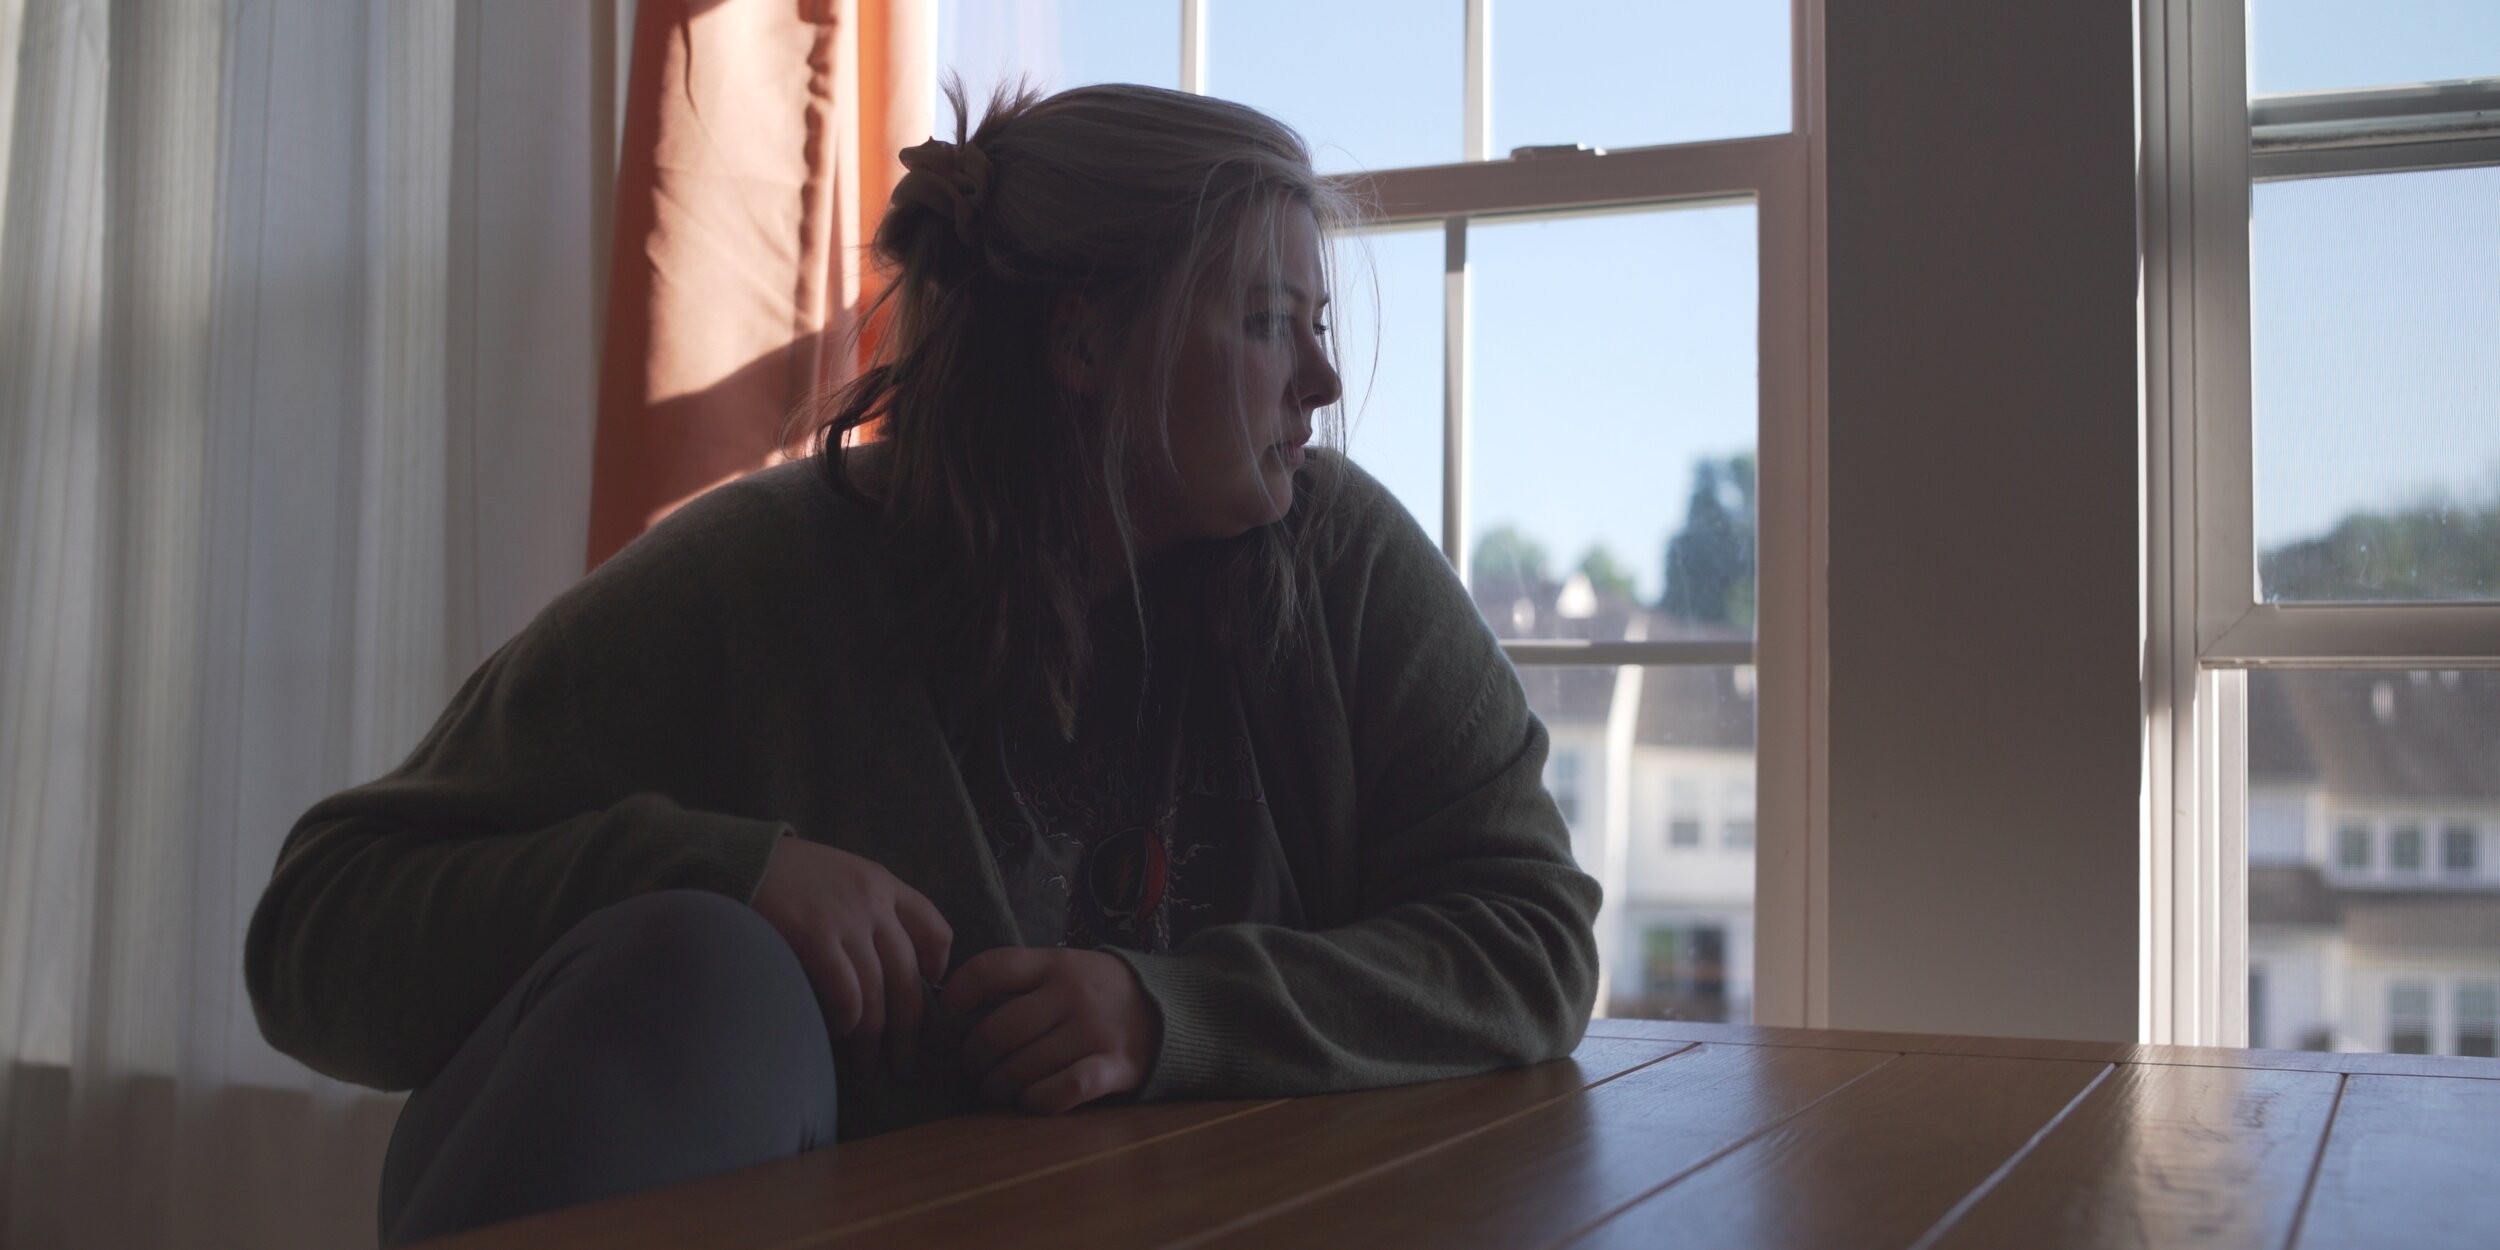
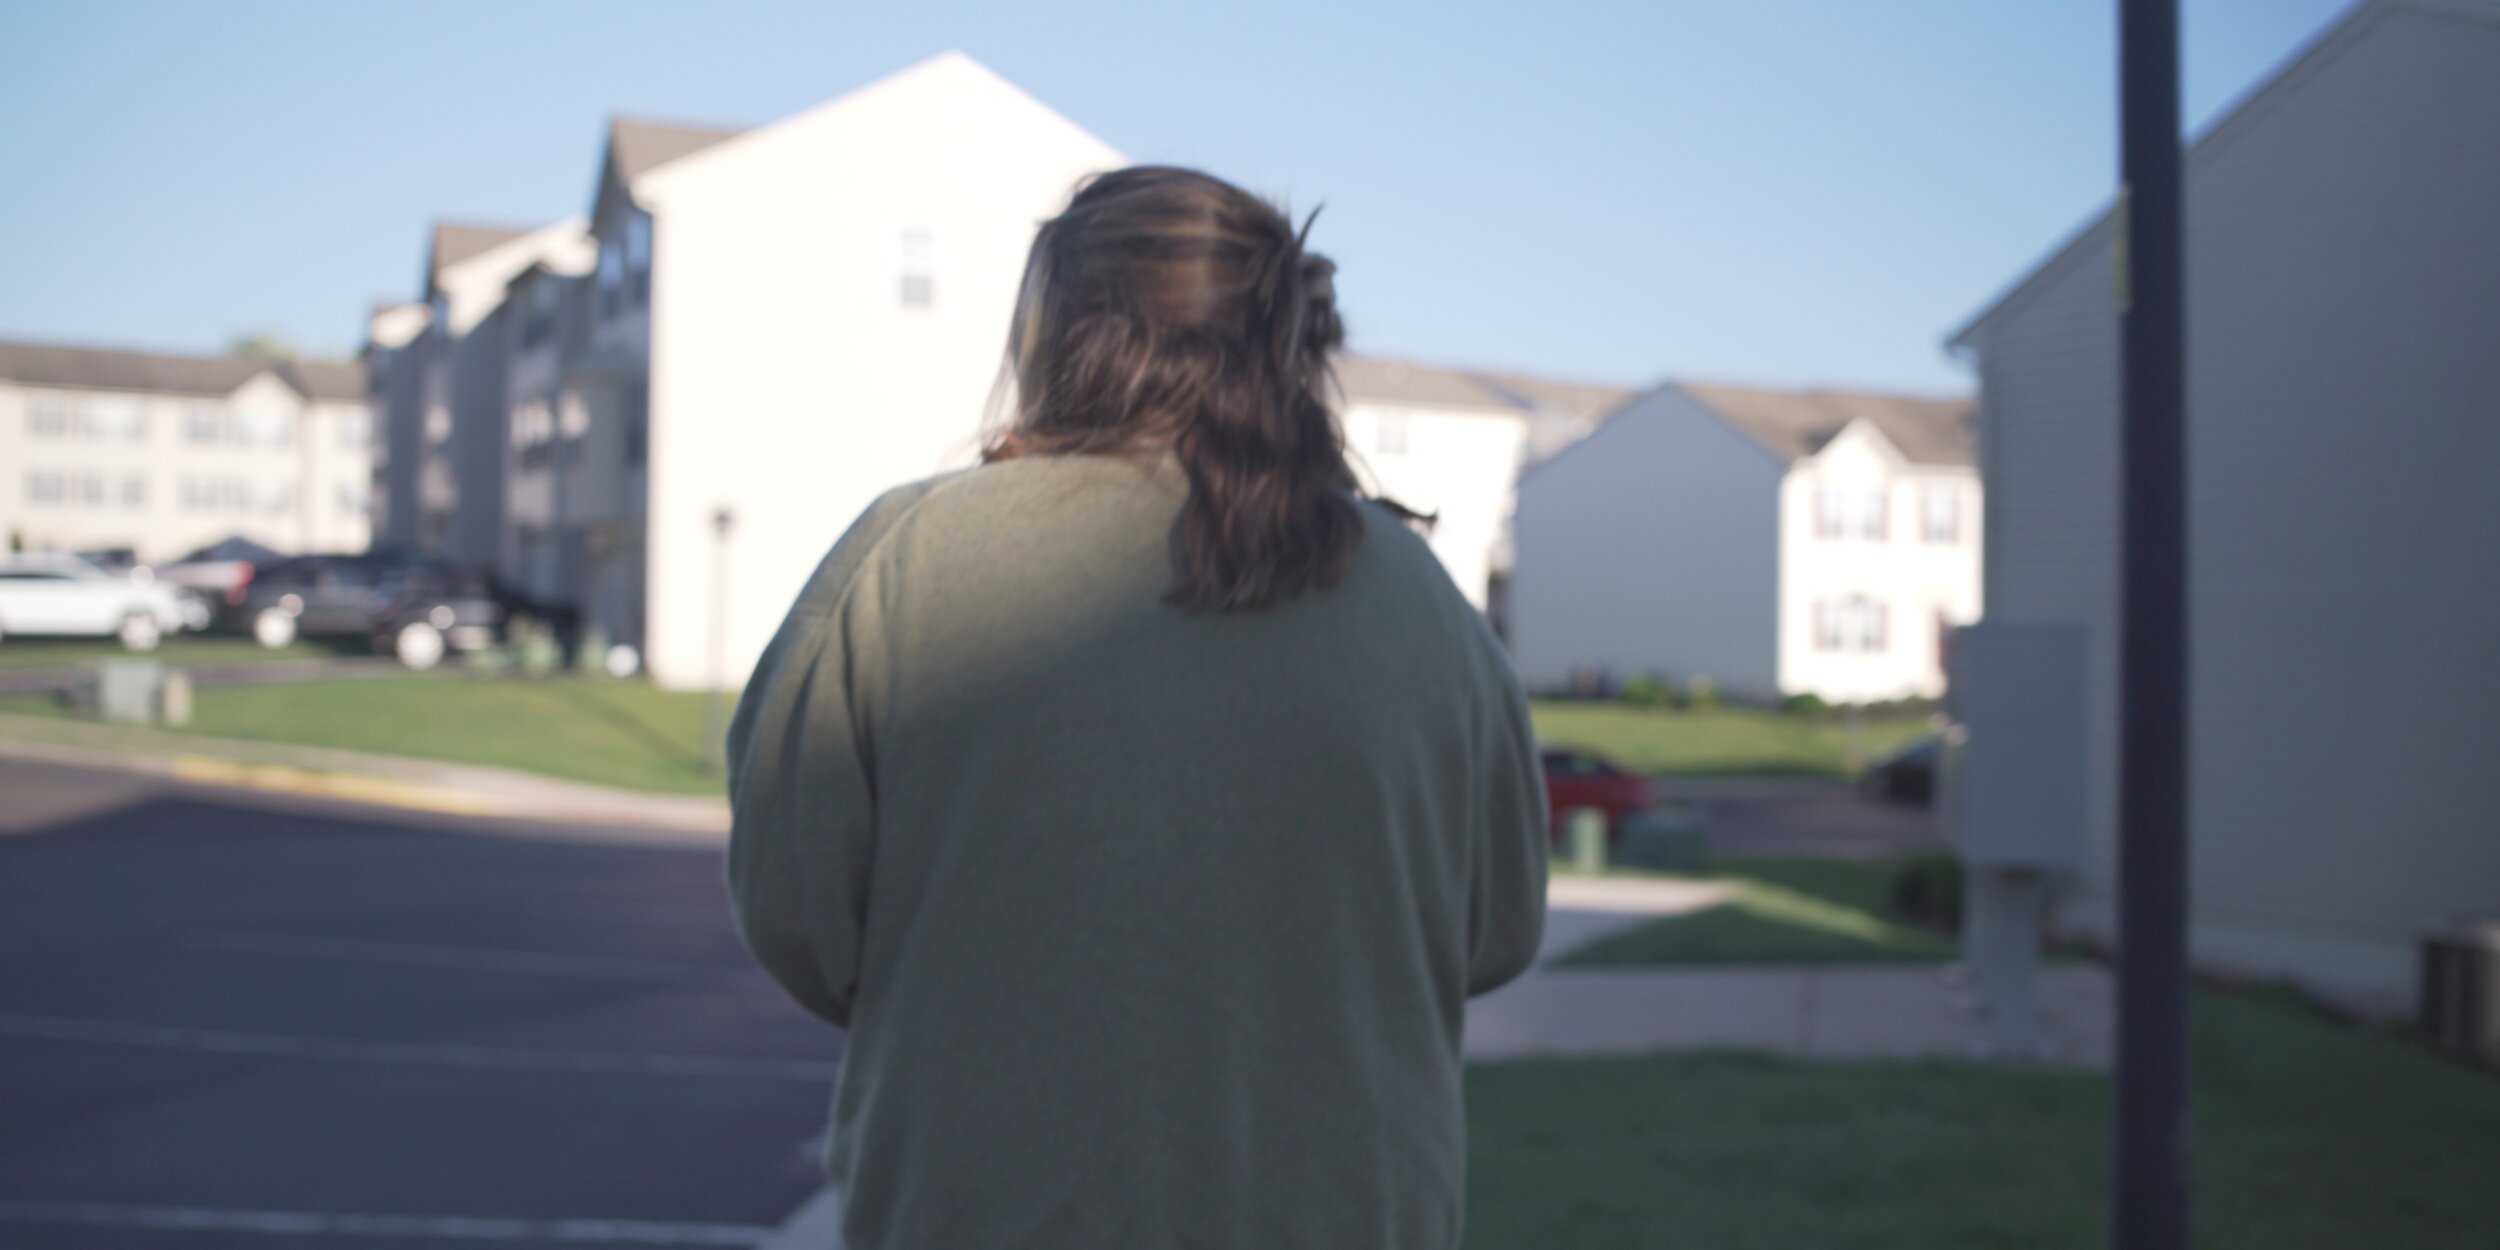
In the process of developing Ava, it became clear that the style needed for the film would be a departure from what had come before it in Abigail and Mockingbird. Just how much a departure became clear after the first outline was completed in early 2020.
While I had planned to make the film with my trusty T3i, the initial image tests proved to be, frankly, horrible. The limited location and lighting in the film would be too much for that camera to handle, unless I somehow found the time to light every shot in this 2 hour film we planned to shoot in less than 2 weeks.
Before this I hadn’t thought about updating my camera, and so began the search for a camera from the mid-2010’s that would be cost-effective, while still working in the low-light scenarios where some of our most important scenes take place.
When it comes to low-light capabilities, there’s an obvious contender.
Part 1: The A7S
The A7S had been on my radar since it’s launch in 2014, and had been at the back of my mind ever since. At the time it had been compared favorably to the Alexa, with it’s unbelievable low light on show in particular.
Fast forward half a decade or more, and the discourse had changed. While the low-light was still lauded, you couldn’t throw a stick without hitting someone who would say that the “Sony Colors” were completely unacceptable in every way, you are a fool, and “just light stuff”.
So while my choice to upgrade cameras had been made, it wasn’t a simple level-up. In order to pull the look I wanted from the camera, it would take some work.
Choosing A Gamma Space, or, “Wow, I Hate (And/Or Am Bad At Using) SLog2 On This Camera”
The very first test I ran (besides locking myself in a dark room and saying “wow, I can see!”) was taking the camera into a high dynamic range situation with a living room window to see how much information the camera could capture in one shot. Once I got the shots into DaVinci I quickly realized that while the dynamic range information in SLog2 was MASSIVE compared to the T3i, the color information was so flat as to be virtually nonexistent. Pairing that with the obscene noise floor in SLog2, and it was quickly taken out of contention for the profile of the film. (I recommend this video if you’re absolutely set on using SLog2 on the A7S or A7S2)
The Custom Color Profile
After some more testing, and watching as many YouTube videos as I could, I chose to base my profile off of the the Cine4 Gamma preset.
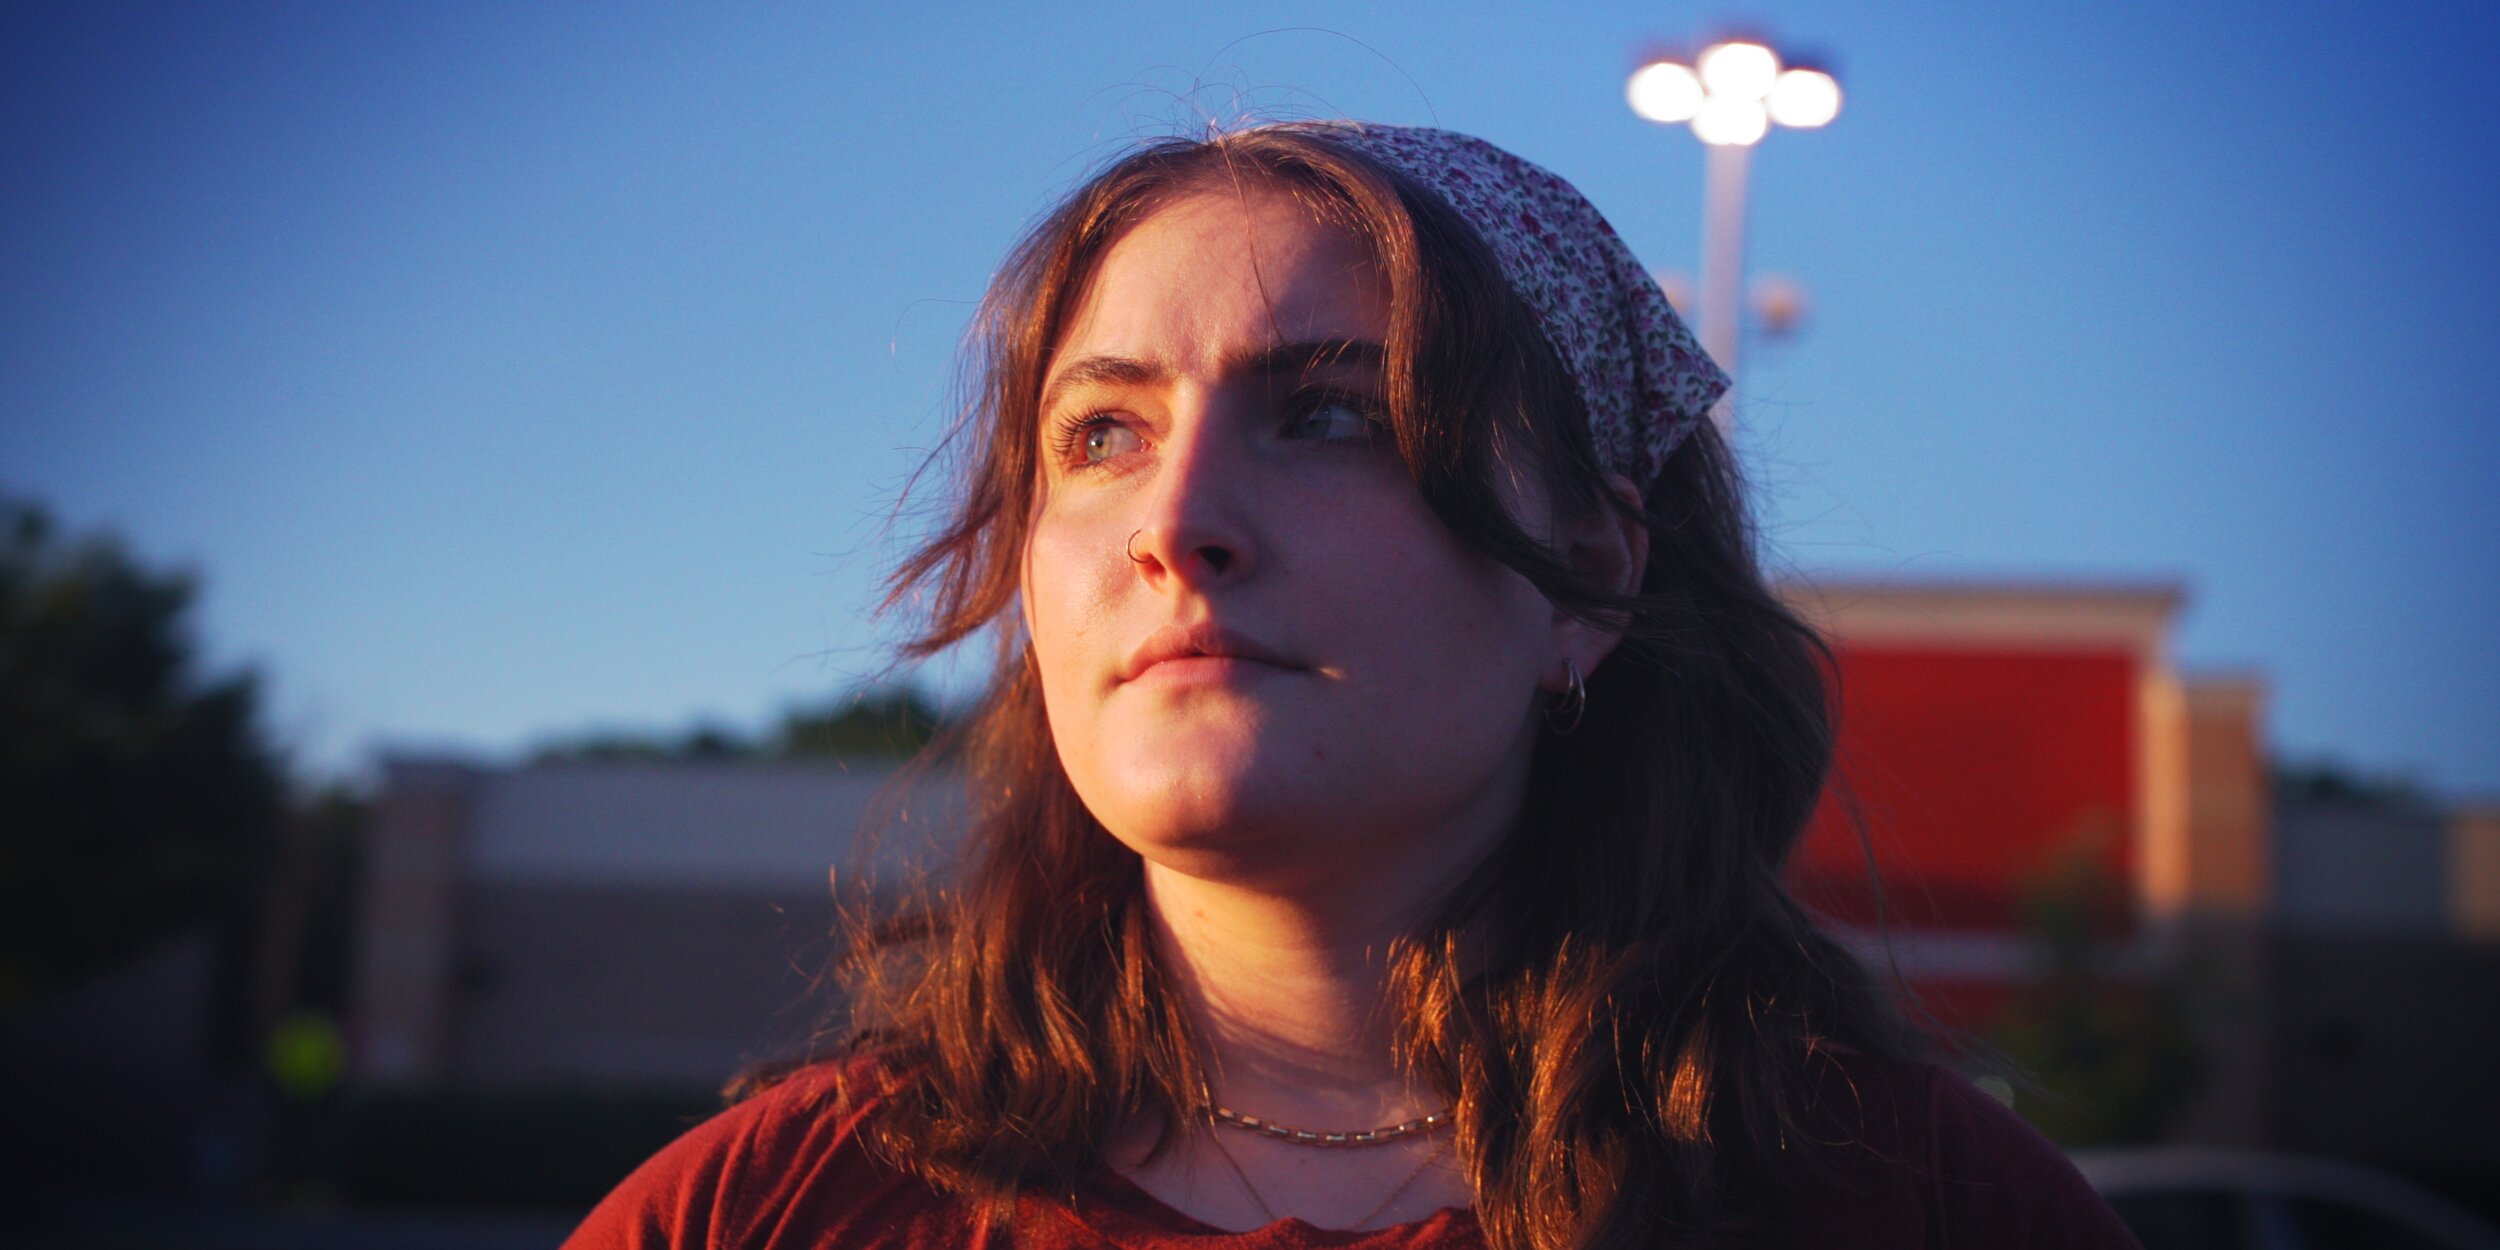
After changing color values, upping saturation, and playing with the knee and highlight settings, I eventually came up with a color profile that provides a good amount of dynamic range, while preserving realistic, saturated colors that can be pushed in Post. The reason for this is working in an 8-bit world requires a lot of things to be done in-camera, as there is only so much that can be done in post. This is part of why people are such fans of Canon and Fuji colors, as they are closer to “done” right off the bat.
I don’t know if you’ve heard, but the colors out of the box on the A7S (and most Sony cameras prior to the last few) are less than stellar. I spent several months putting people, colored pencils, walls, skies, plants, cat food bags, and actual cats in front of the camera to develop this custom color look.
After broad adjustments to green and magenta balance, it became more a series of small tweaks than a simple “choose this gamma and this color profile” situation.
The Sony colors, as easy as they are to make fun of, are close enough to good that it only takes a bit to make it work. The only problem is that those changes are strange and idiosyncratic, and require a lot of trial and error (or, if you have $15, this profile by EOSHD)
By the end of this process I had moved the look of the image toward a more saturated, brighter color space in-camera (metaphorical color space, not literal digital color space).

With the camera sorted, the next step in defining the look of the film came with the choice of lens.
Part 2: The Rokinon 35mm T/1.5
The choice to change lenses from my standard Helios lens was three-fold: The 58mm field of view was too narrow; the quirks of vintage lenses that made it so beautiful to look at, make it a real pain in the ass to work with; and handheld focus pulling on a small lens so close to the sensor would require hands-on lens, which would cause micro-jitters that I absolutely did not want.
With all these in mind, I realized I would need to finally invest in my first “cinema” lens.
Creating A Look, and Choosing A T-Stop.
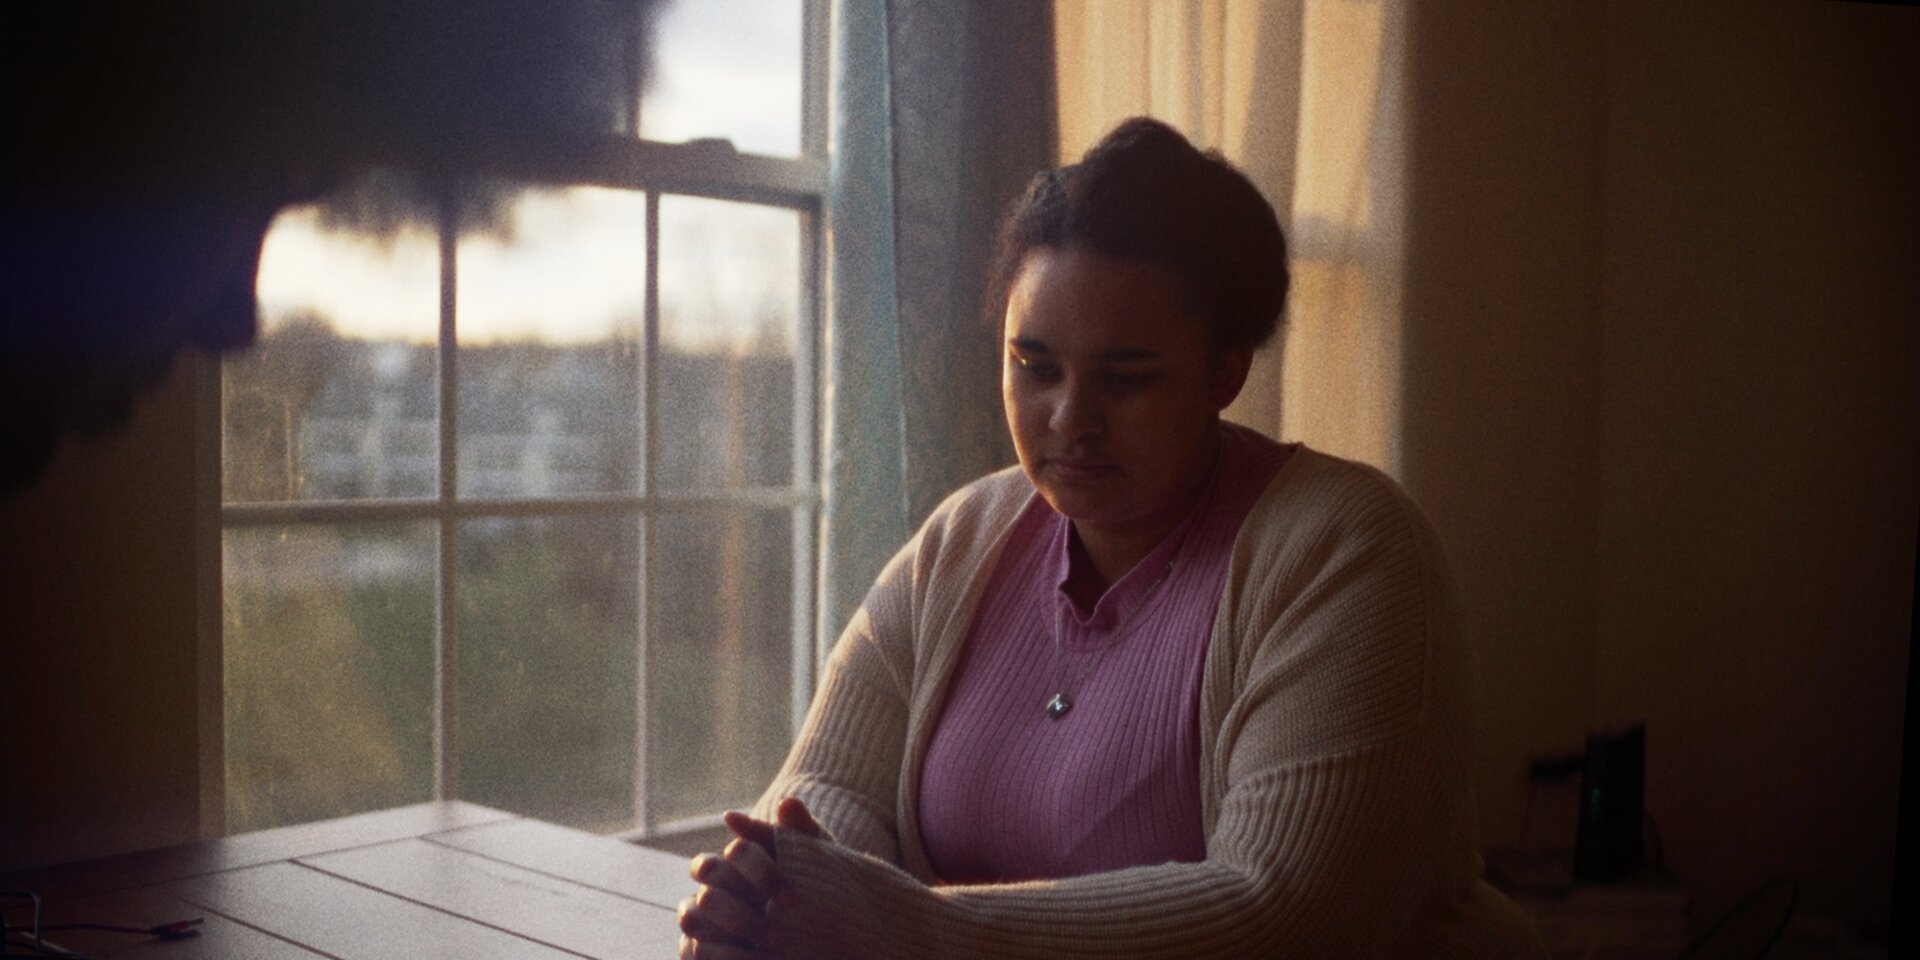
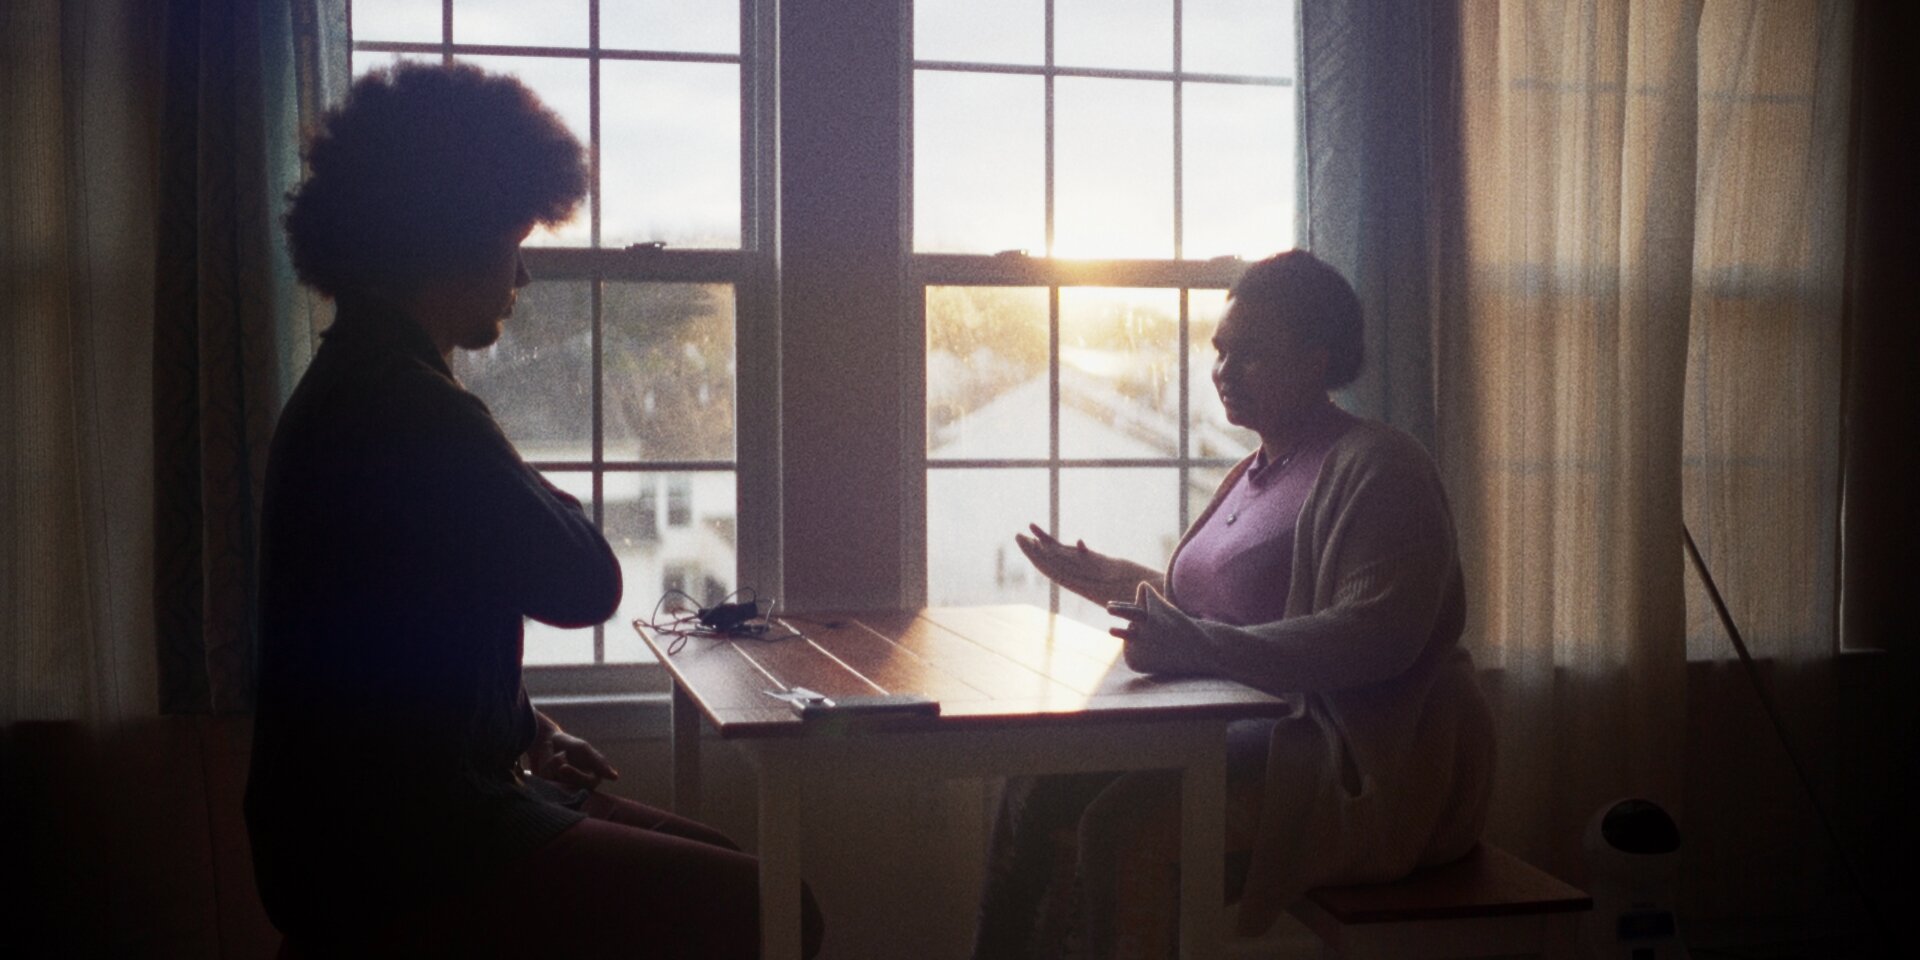
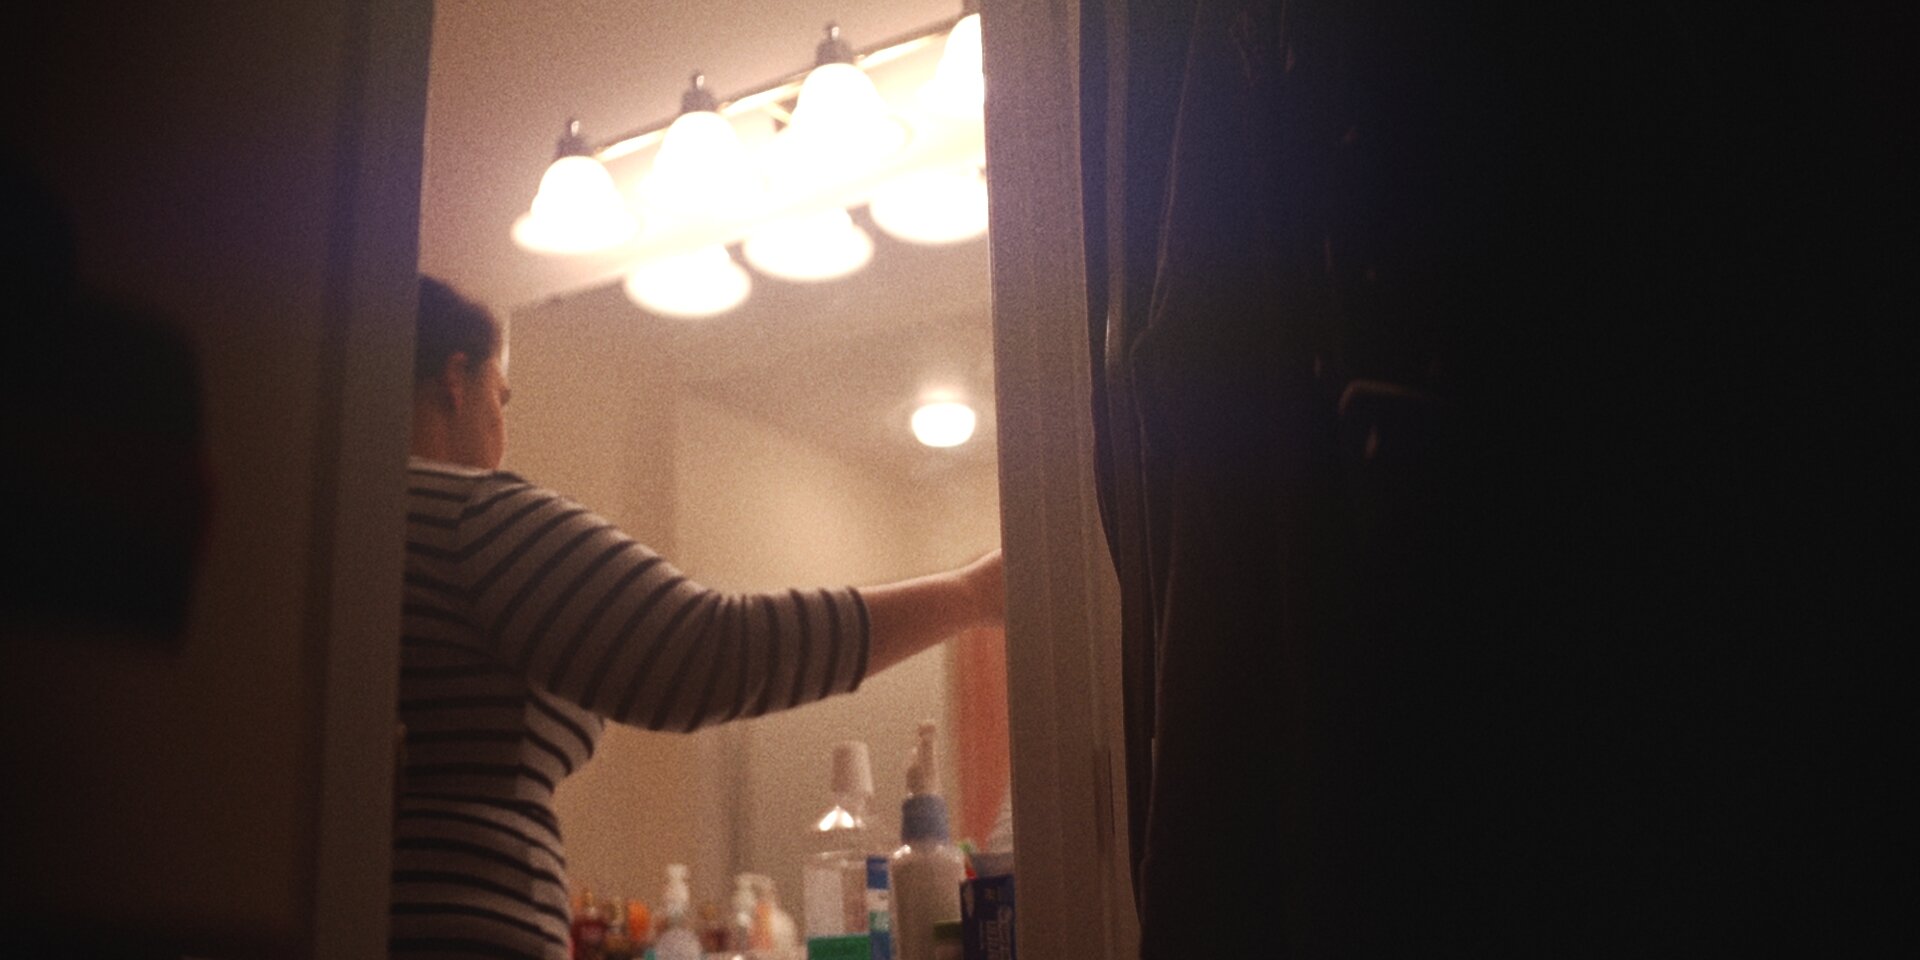
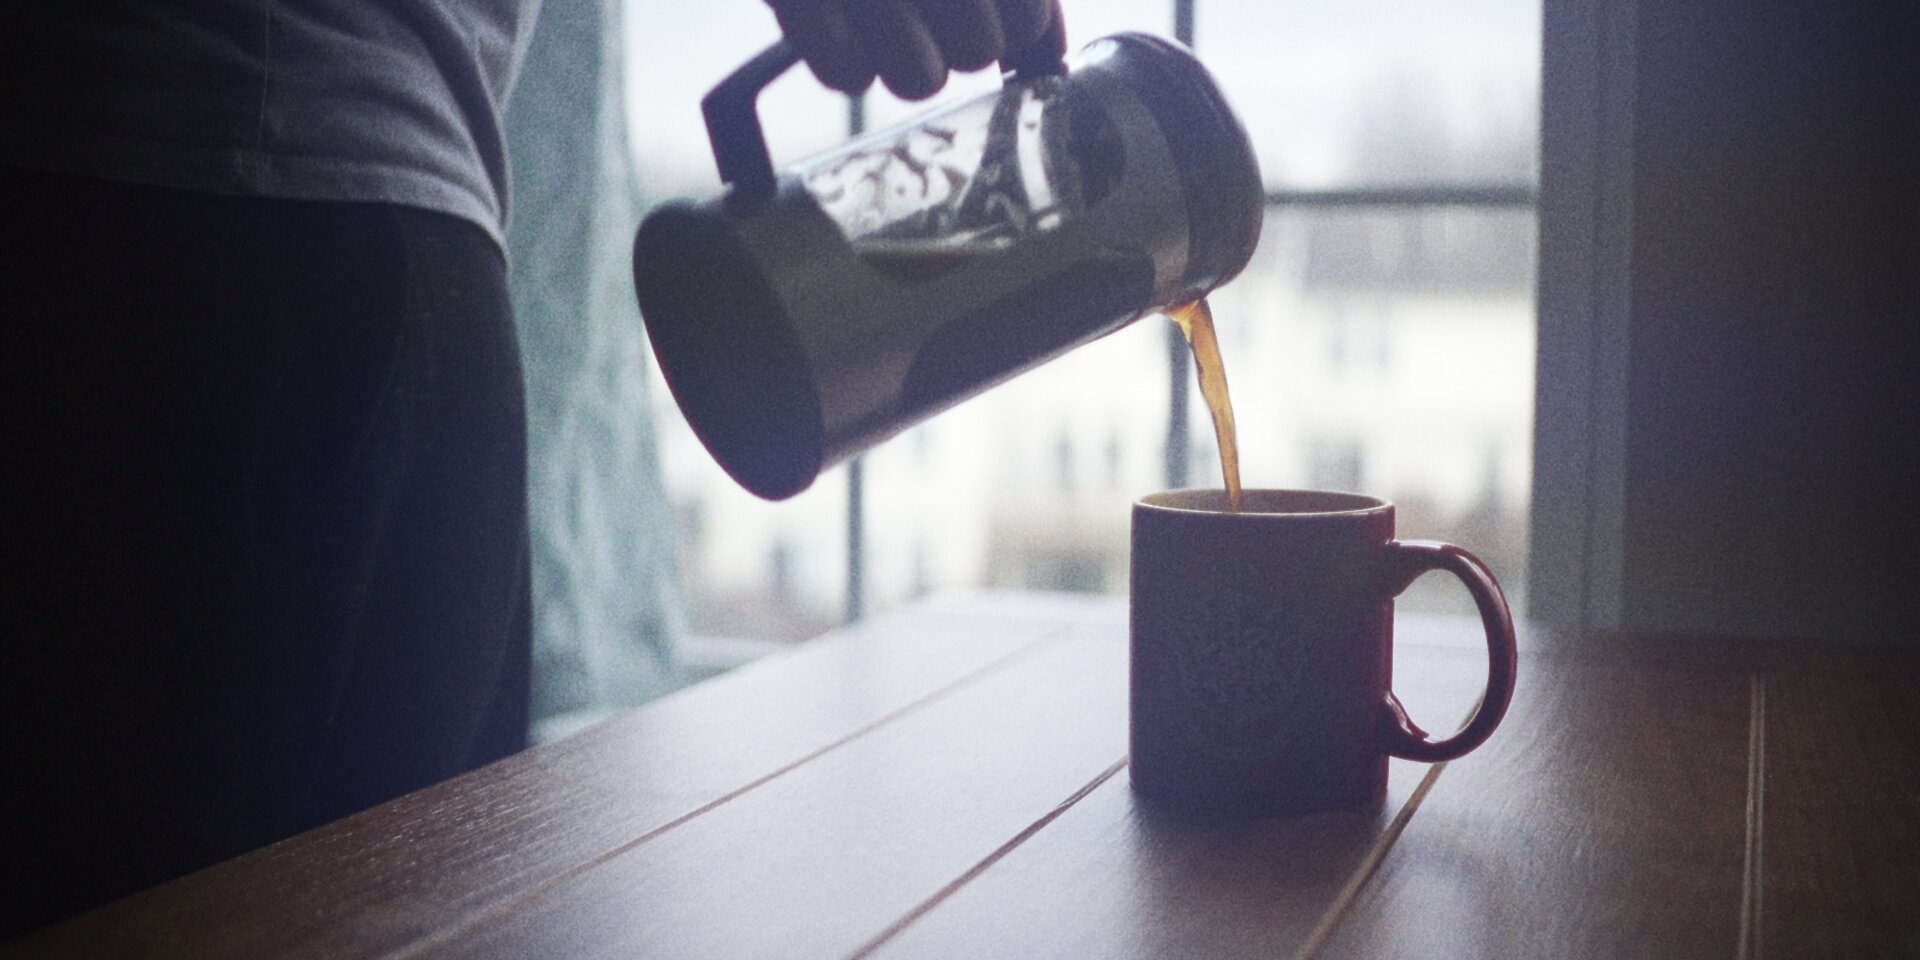
The look of the Rokinon is amazing. It’s tack sharp at the center, has a tight control over blooms and flares, and an aberration-free image across (almost) the entire T-stop range. This is very much the opposite of the Helios.
Not being saddled with an inherent look caused some insecurity at first. I had been a fan of the previous films visually and attributed a huge part of that to the lens I used. By removing this, I began the process of developing my own look. Luckily, this happened in conjunction with the film emulation pipeline, with each effecting the other organically.
This informed the choice to shoot the entire film at T/2.2. While there are a handful of shots that are shot at other T-stops, the majority of the film was locked to T/2.2 to allow for the sharpest image, with the least amount of aberration, while still keeping a shallower depth of field in close ups. Since, again, this choice was made as the film emulation process evolved, it led to some great revelations. More on that when we discuss the 4K.
Lowlight As An Aesthetic
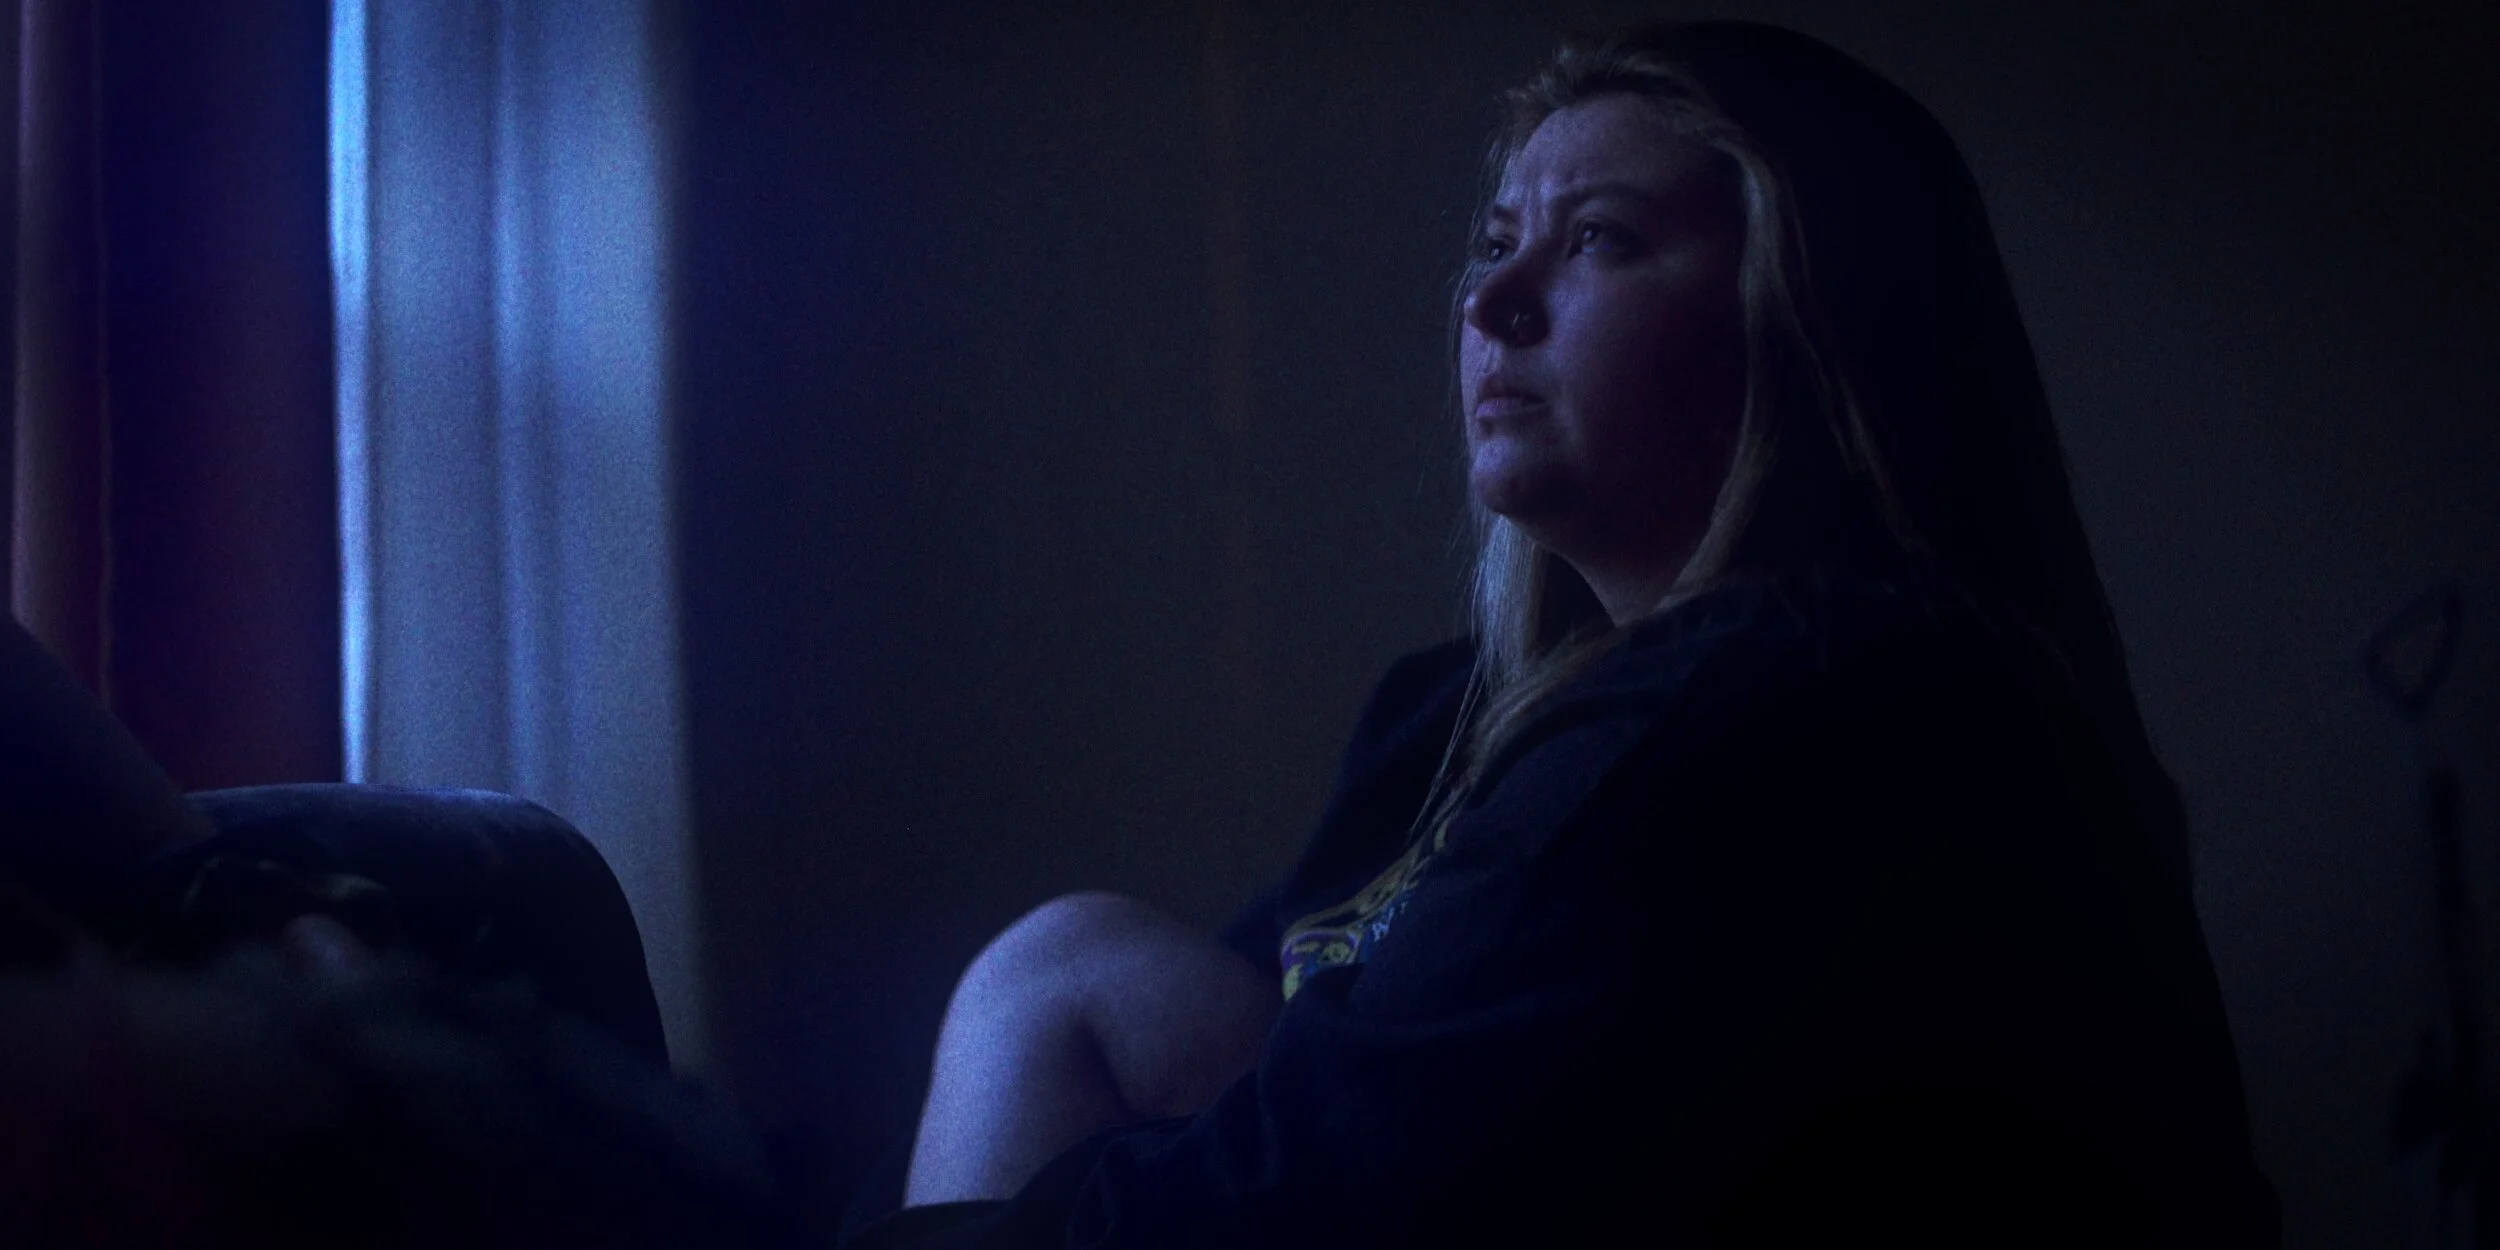
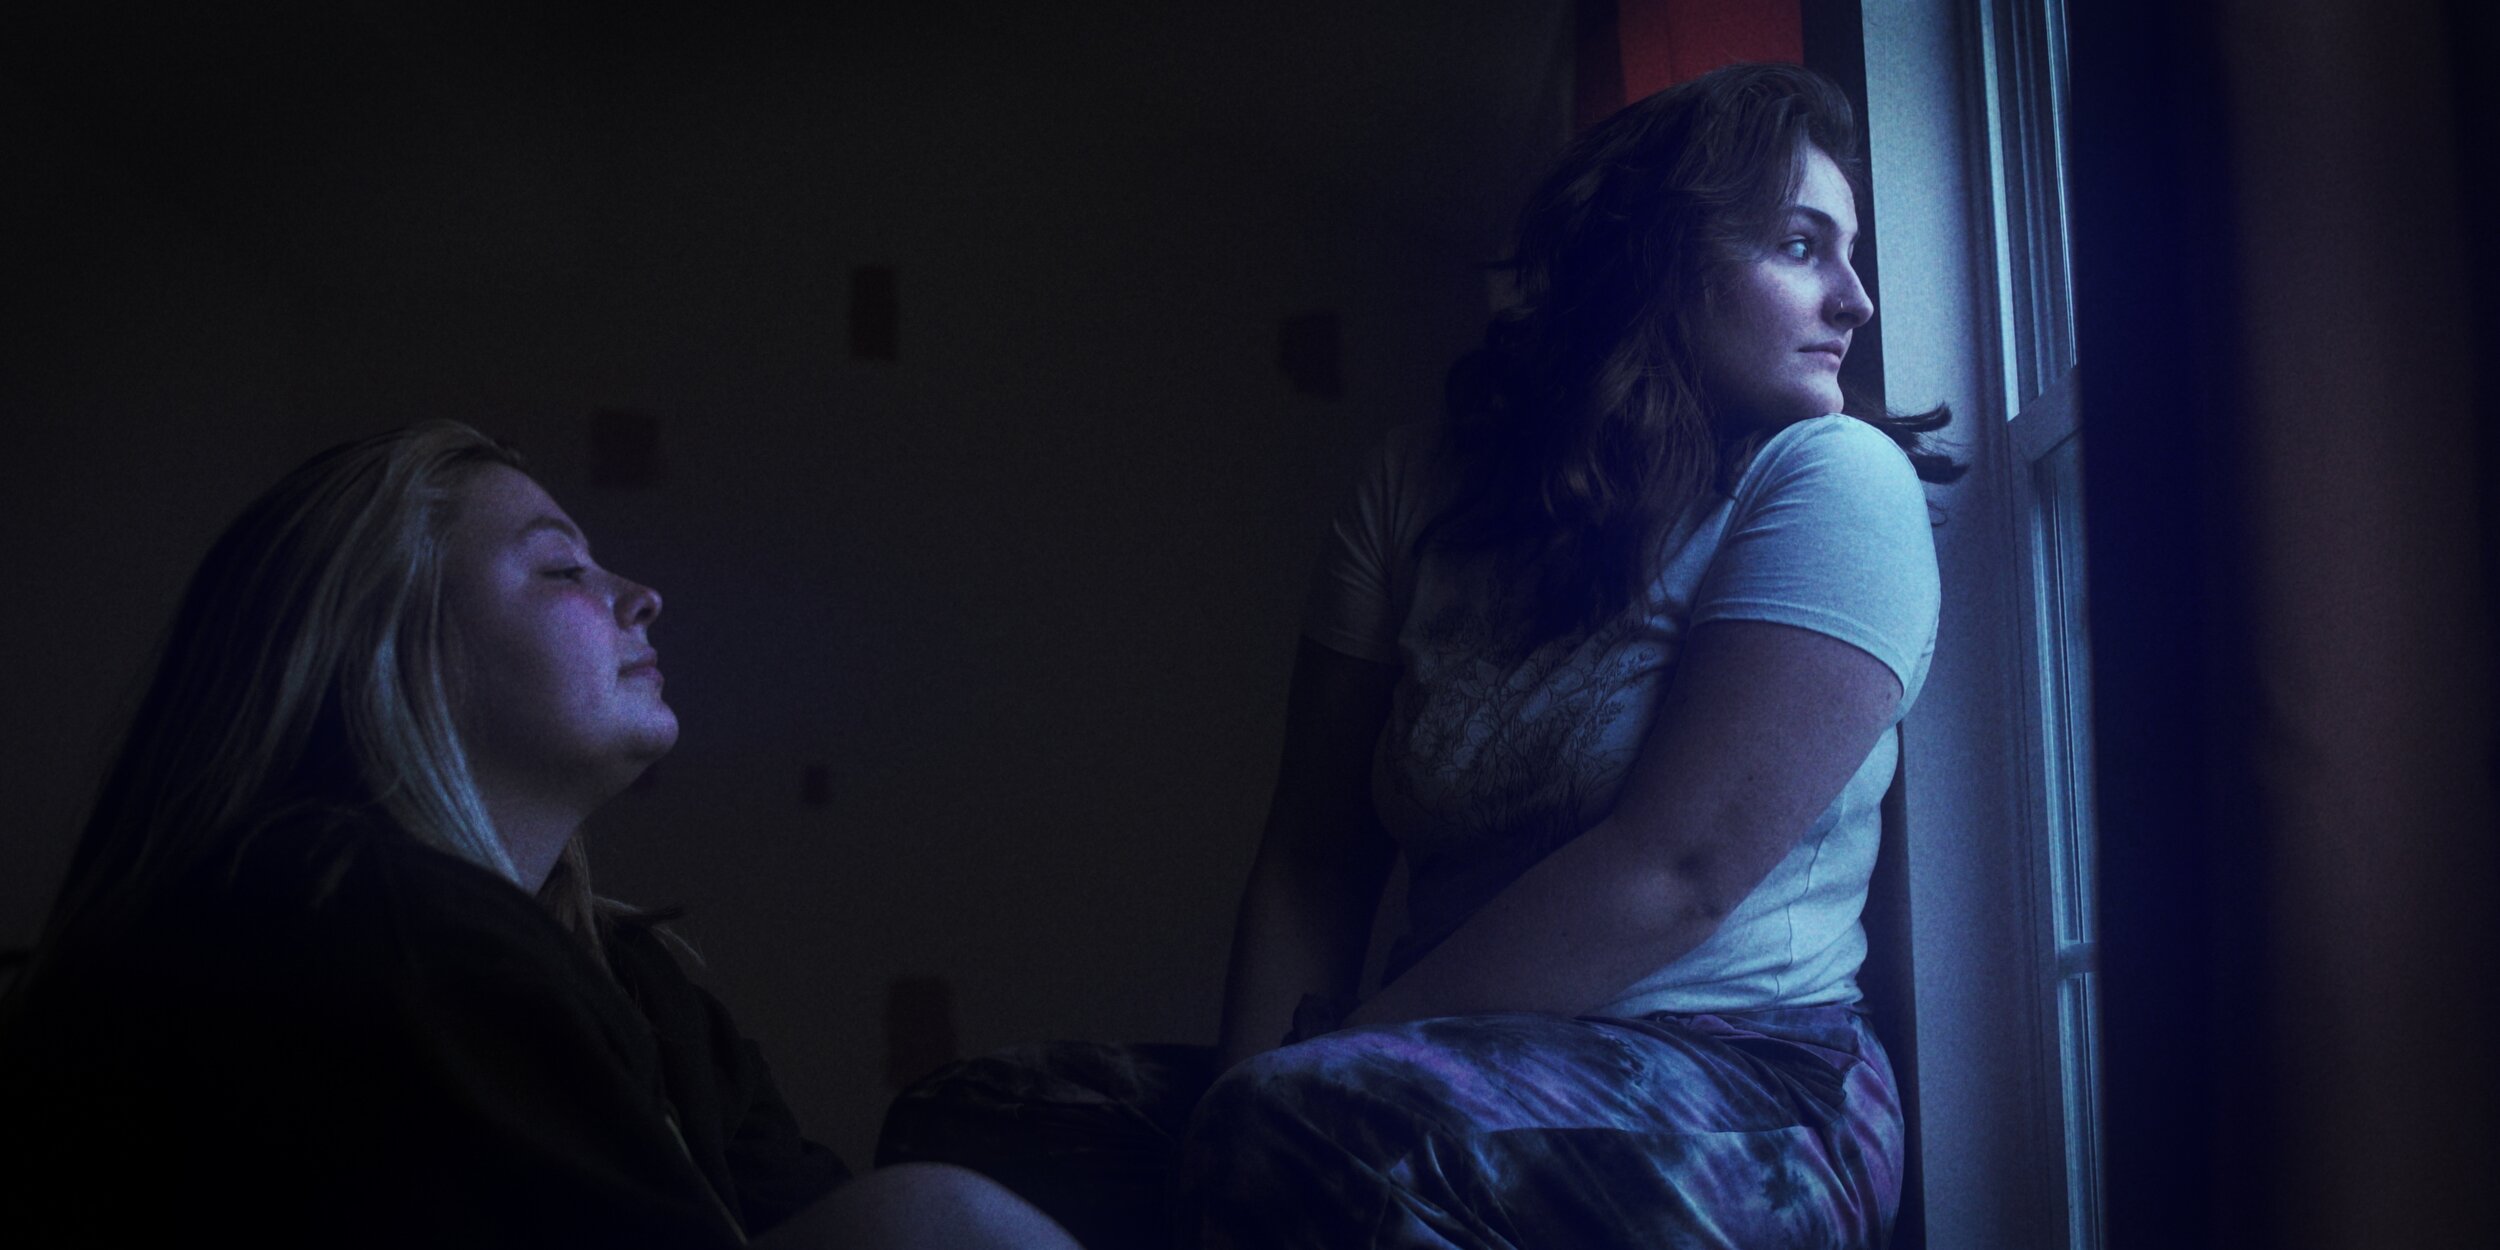
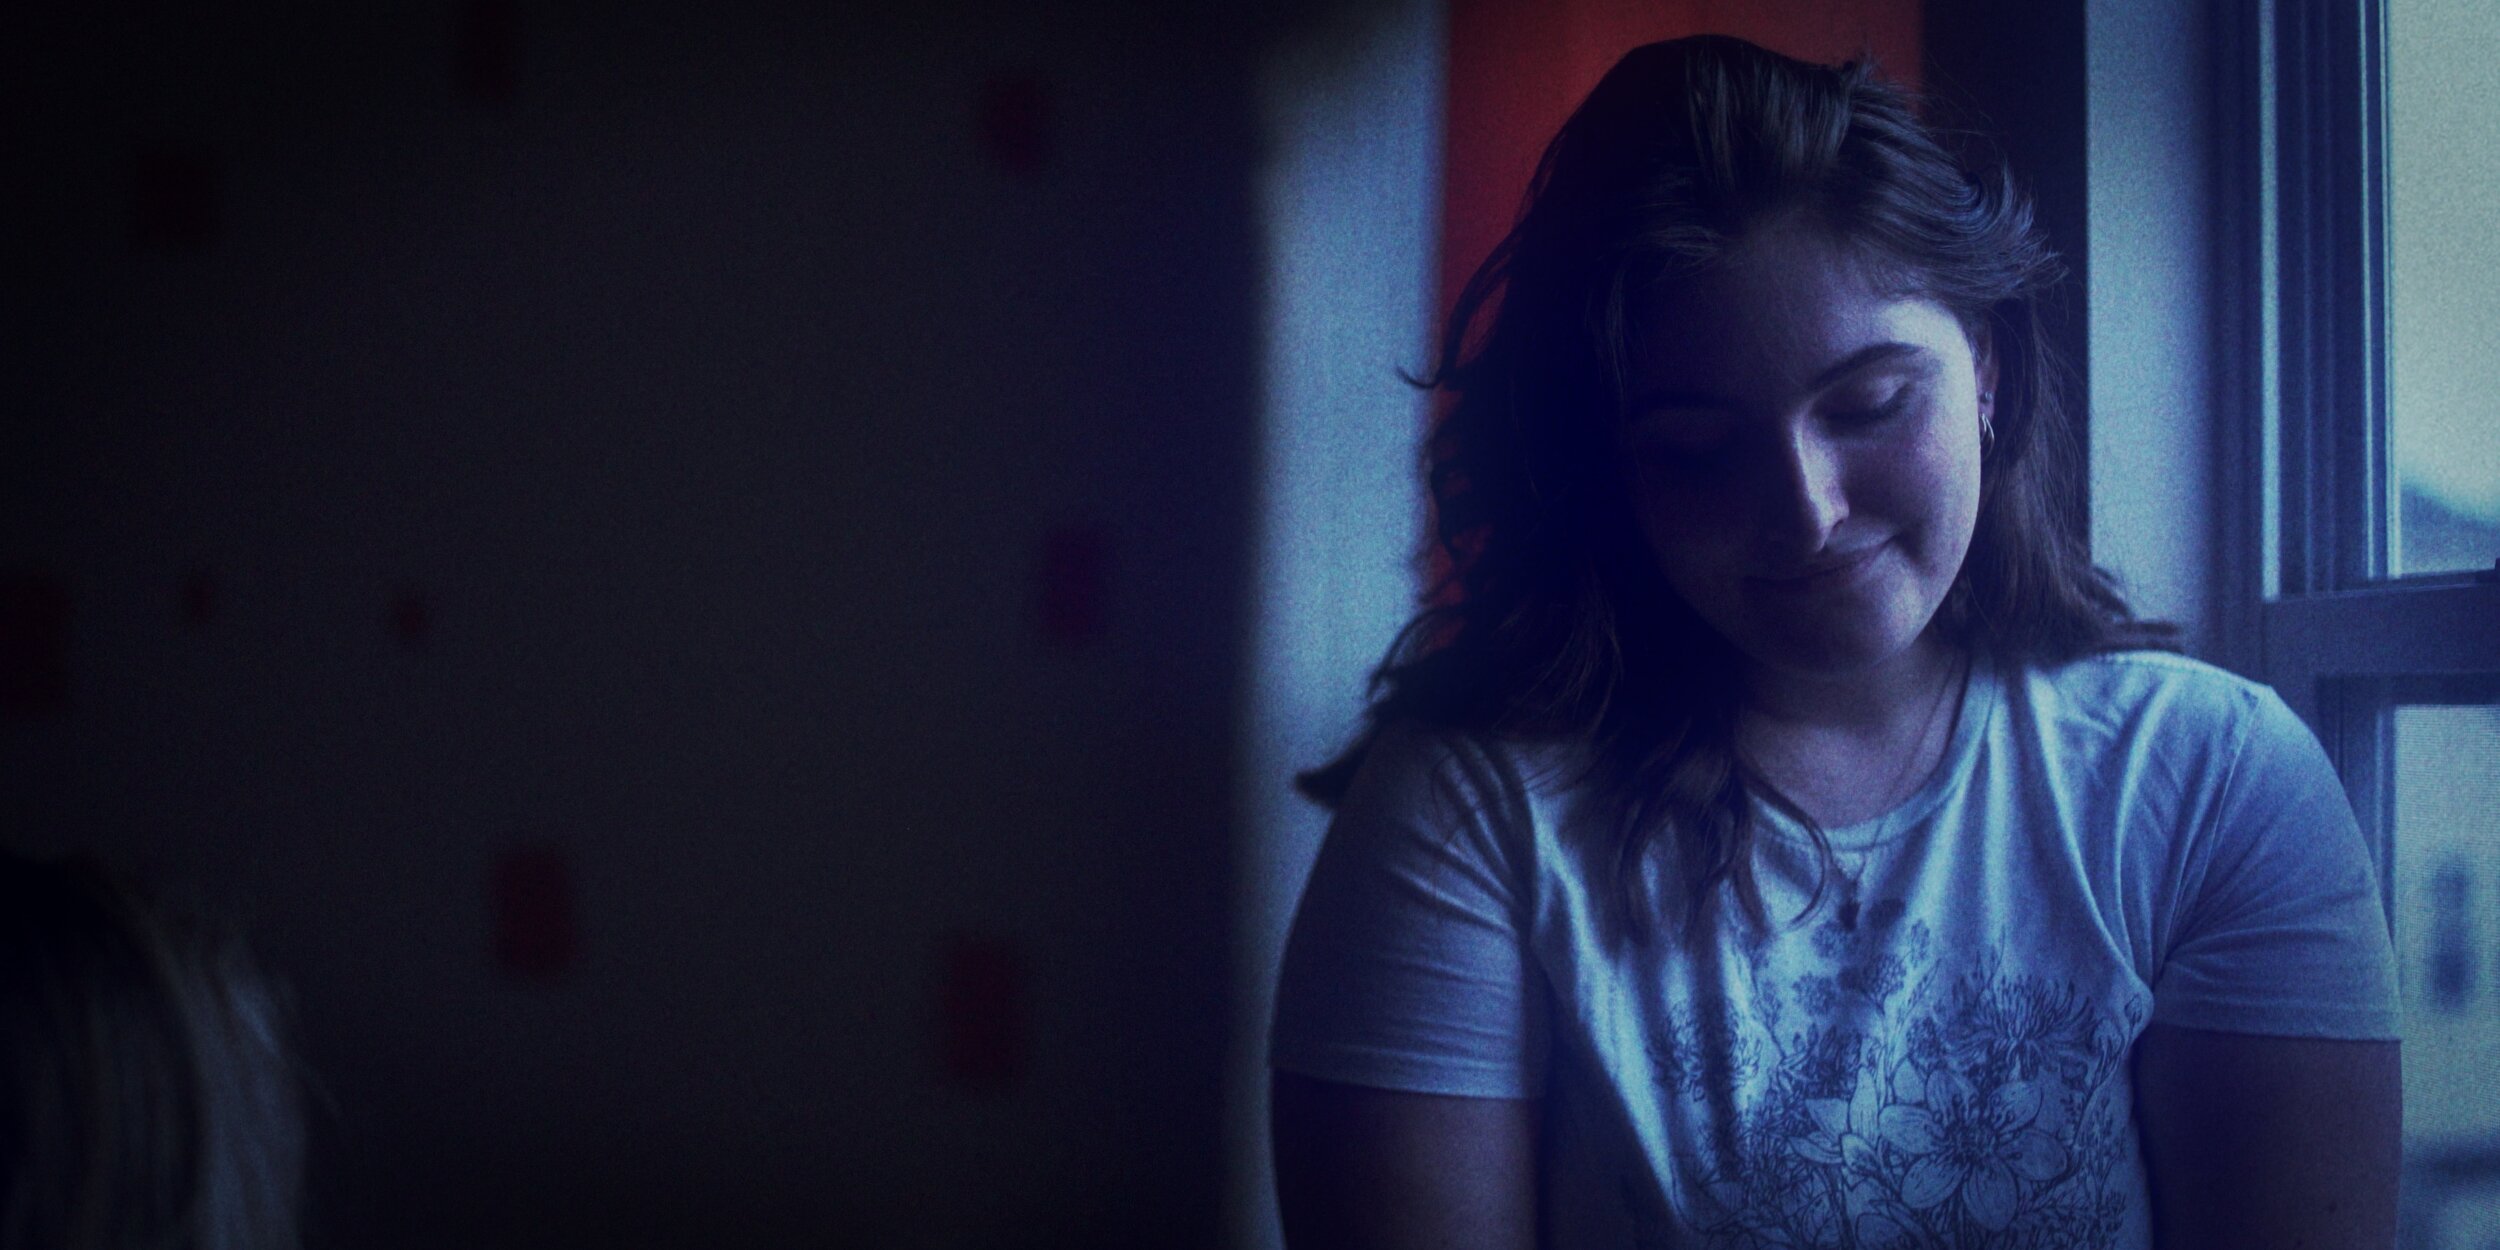
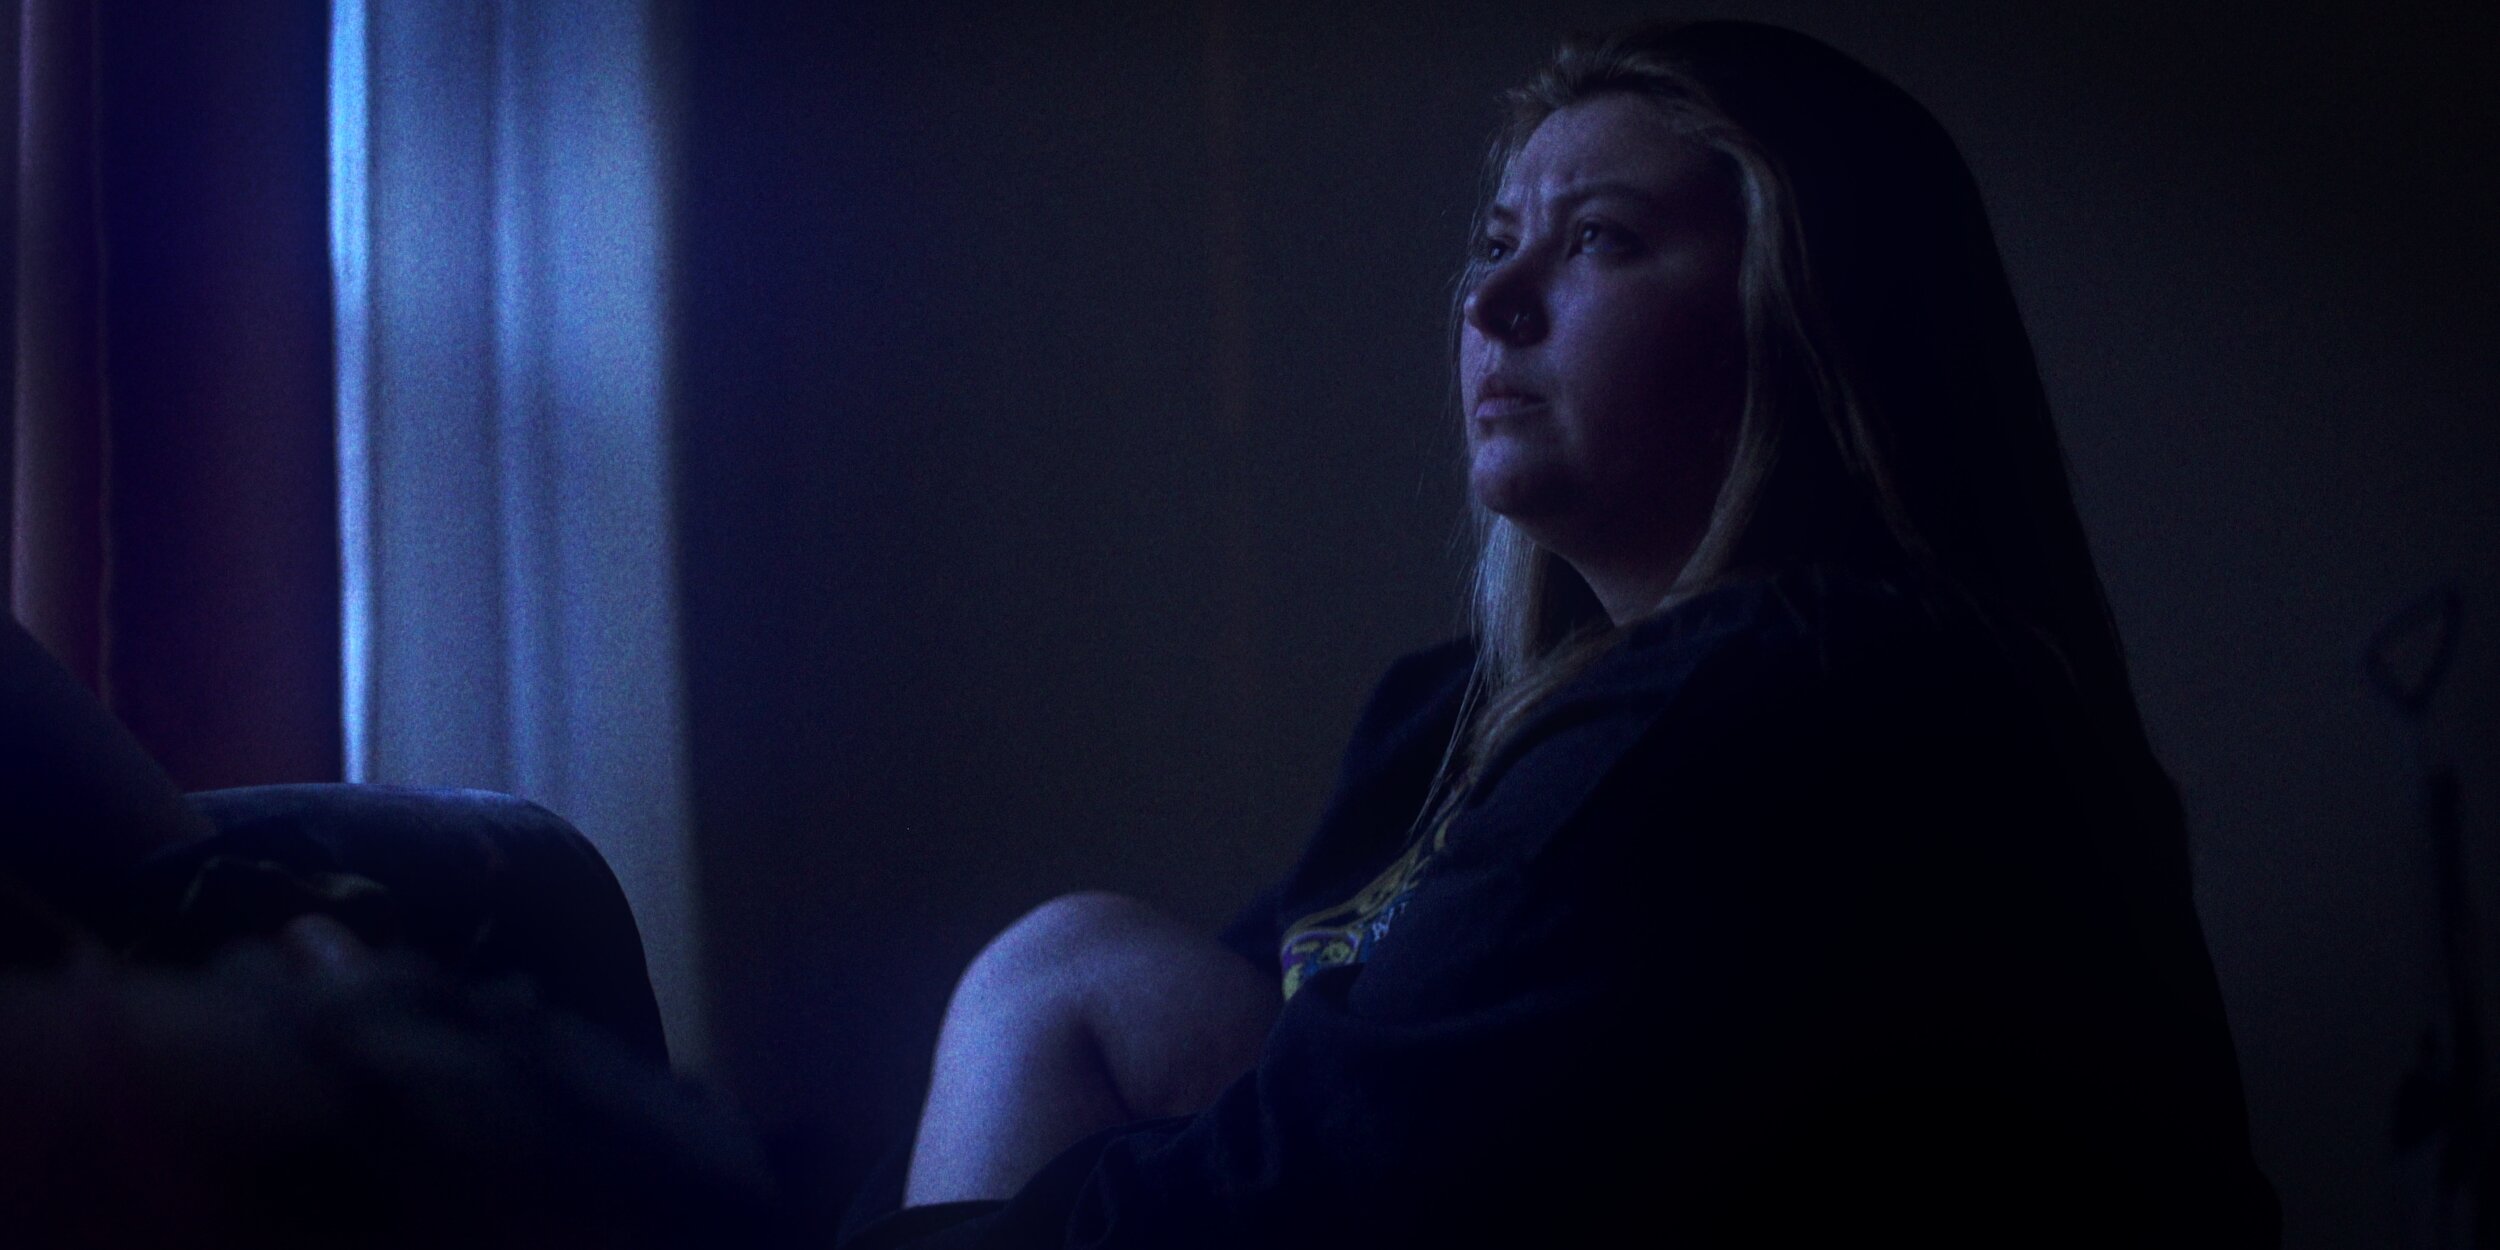
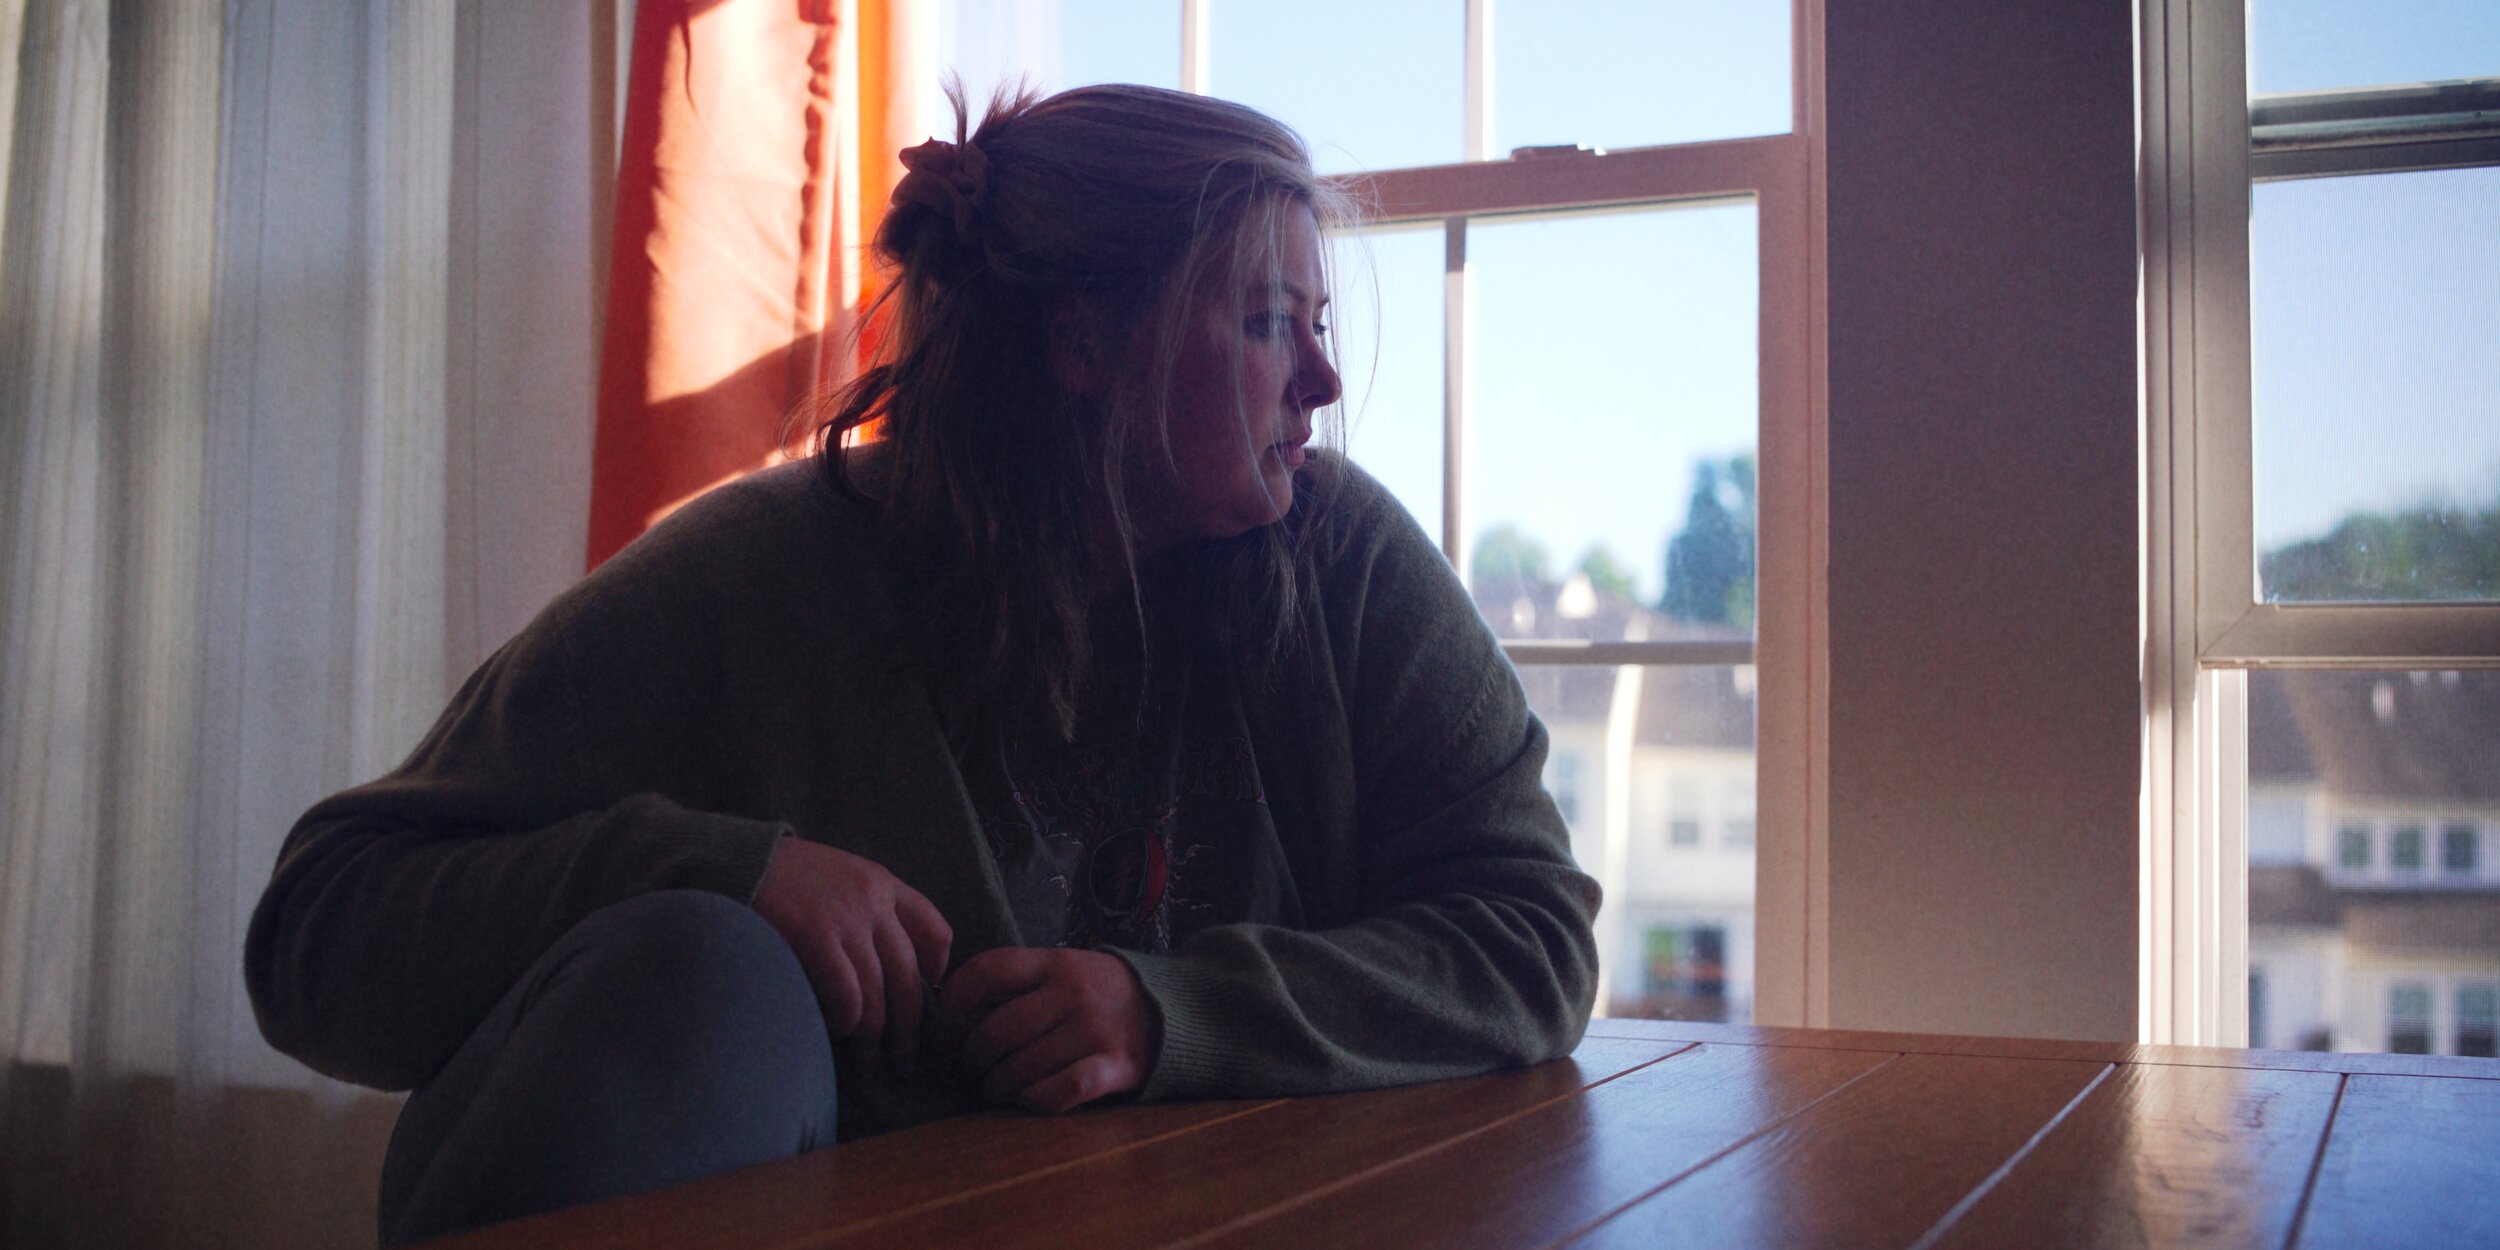
This image is from one of the scenes where we actually used that insanely wide T/1.5 aperture. The A7S is pushing 20,000 ISO here, and over the course of several takes and angles, the aperture gradually went from the initial T/2.2, to the T/1.5. The scene itself was shot by windowlight, starting after 8:30pm, and in July that gave us a maximum of a half hour or so of blue-hour light with which to shoot in before the sun would disappear completely. Thanks to the A7S and that incredibly wide aperture we were able to get it done in the time allotted.
The final result is soft, with a distinct graininess from the rest of the film, but thanks to the pronounced grain introduced in that film emulation pipeline, it blends nicely, and the audience is free to focus on the characters in the scene, rather than any of the technical considerations happening behind the scenes.
Part 3: Shooting In 4K
I have a very complicated relationship with the idea of 4K in the no-budget filmmaking community, and the idea that anything less than that is “not good enough”.
There are cameras at affordable levels that deliver incredible 1080p footage, as well as ones that deliver crap 4K, and everything in between. I have less interest in the literal resolution, than the quality of that resolution (quality of pixels over number of pixels), and even then the cinematography of the film will almost always supersede whatever it was shot on.
Example: Zodiac is shot in 1080p, Gemini Man is shot in 4K.
Stepping down from my soapbox, the benefits of a 4K acquisition can be absolutely mind-blowing when aiming at a ~1080p+ delivery. Obviously, the stabilization and reframing jobs become much easier. The image can hold for much longer on a zoom before becoming blurry, and almost more important than the resolution was the new container that image was held in thanks to the Ninja V.
By using the Ninja V to capture a 4K signal from the A7S, I was able to wrap that signal in 101 different formats, but eventually settled on ProRes LT due to it’s smaller data rate, while still maintaining a great quality level. (Even with the compact size, we still shot over 1.5tb of footage over the course of the film)
The major impact the 4K has on the final image is clarity. The sharpness and actual pixel depth of the image is impressive. When shooting in 4K for the first time, and on the Rokinon, I was amazed and upset by the sharpness. I liked the softness and separation that comes from vintage glass when paired with a mathematically perfect array of pixels.
4K and The Film Emulation Pipeline
As I began to see the benefits, and adjust to the new level of sharpness, I started to realize the potential afforded by this new resolution bump. By studying 4K film scans, it’s clear that while there is an enormous amount of clarity, the sharpness almost never offends.
The film emulation pipeline takes out a lot of that sharpness, through various layers of blur and grain and aberration. By having such a sharp plethora of pixels to play with in the first place, the final image benefits from a higher level of clarity than the initial 1080p tests ever did. In my mind it felt like comparing 1970’s 16mm French Films (1080p), vs 1990’s 35mm American films (4K). There’s more to be resolved in that newer, more advanced format than could exist in the predecessor, and yet it retains the smoothness and softness of the older format. A win-win in this case.

Takeaways
Do not be afraid of new technology in the pipeline. It made me feel like a student again, which can be scary, but trying new things is how we get better. In this case, the new lens and 4K scared me initially. I was giving so much credit to the lens and camera I’d used previously, that I forgot the most important lesson of filmmaking: your camera DOES NOT matter.
Well, it does if you’re shooting in limited lighting, but outside of that. The authorship of an image is up to the person creating it, and between the choices made in pre-production and post, we were able to make some pretty fantastic images.


