The Ava Test Footage: Film Emulation Version 1.0 + Free “Ava” Base LUT
Scroll down to the bottom if you just want the LUT. Follow the directions listed.
In June of 2020 I started designing a film emulation pipeline for Ava. I spent several months researching as much as I could, from articles like this and this, to other film emulation videos, like this great one from RAKK Productions, and the Display Prep Demo from Steve Yedlin.
Before we get into that process, here are some of the results from a year or so of work.


The film emulation process was designed to fulfill three main fundamentals:
Scalable: Minimal tweaking per-shot to get “good” results.
Has to work on a feature film being edited by one person (me.)
Consistent: It has to predictably treat highlights, shadows, colors, and grain.
Believable: Grain, flares, halation, etc should not cross into “distracting” territory.
This all started with in-cameras tweaking, but I literally wrote four articles about this so refer to them for the in-camera tweaks.
Processing The Image
This is a gallery to show progression through each step of the emulation pipeline, starting with a simple curve transform, all the way to the final grain step.
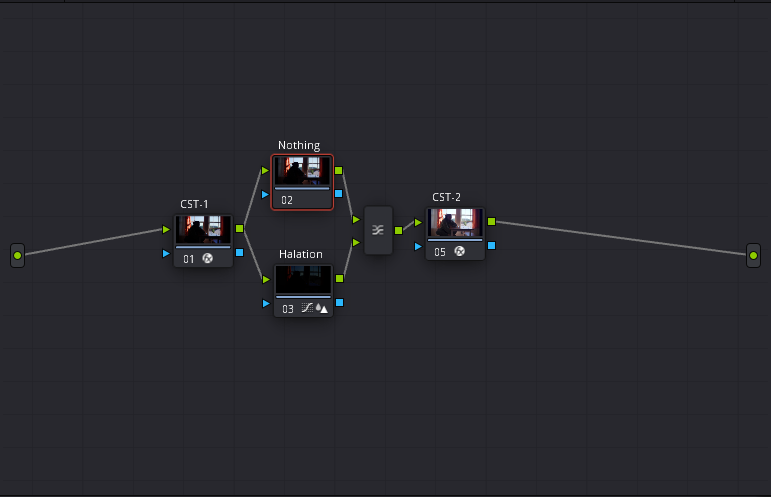
The idea of the process is to emulate the actual steps light takes from hitting the lens, through to being captured on the emulsion.
First three steps are color work, final three steps mimic light hitting lens, then emulsion, and the bounces therein.
Flip between the first and last image to see the biggest difference.


Node Setups:


Highlight Isolation Curve looks like this:
It isolates the brightest parts of the image so that only the highlights flare, and do so in a curve relative to the image.
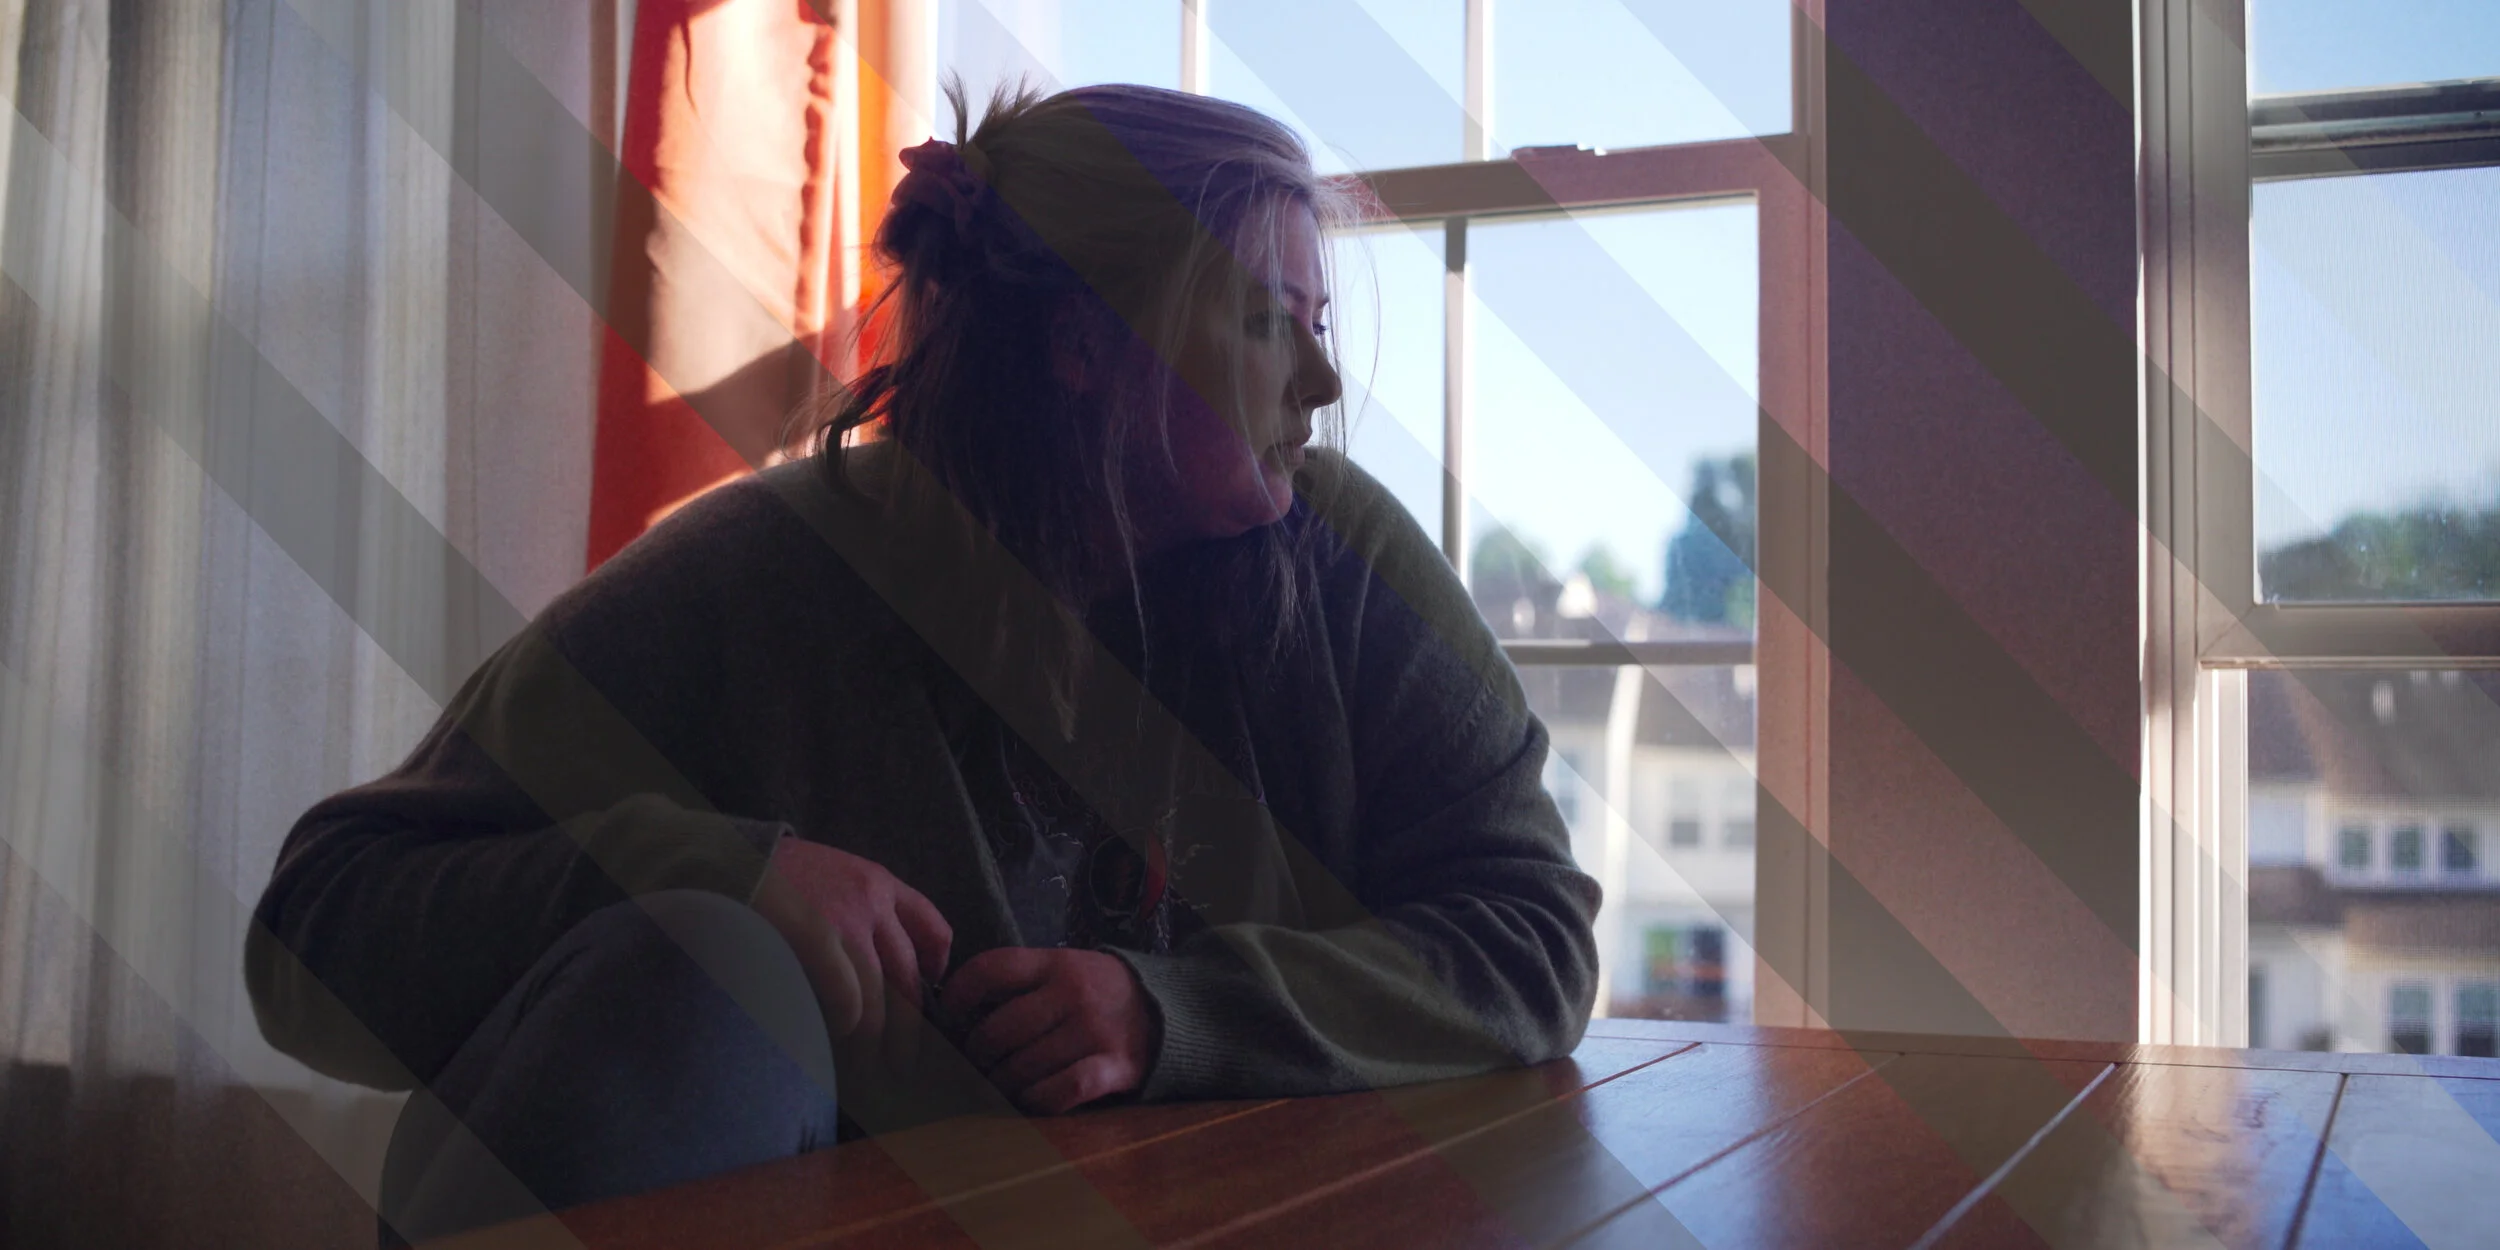
Here’s a comparison of the final image and original image.
Philosophy
One of the things that may stick out is
A.) I’m not using SLog2.
B.) the original image and final image are more closely related than most “before and after” images.
The latter due to the in-camera adjustments. The idea is to push a look further in post, rather than create it in the grade. This is partly just a practical concern: an 8-bit image can only bend so far before it breaks, and this can lead to frustration in post when trying to emulate a certain look.
The former is very much related to the 8-bit codec, plus SLog2 is a picky codec at the best of times, but most importantly:
Flat images are very hard to look at.
A cinematographer is a position on set for a reason. When looking at a LOG or RAW image, accurate histograms, viewing LUTs, and a trained eye are critical.
I’m acting as my own cinematographer, and director. I don’t have the time I’d like to devote to my histograms and lighting ratios, I have to focus on my actors. By shooting in a less flat way, I retain some flexibility in my shadows and highlights, while still getting a good idea of what my final image will look like (this is where that “Consistent” tenant of the emulation pipeline comes in).
Areas of Improvement/ Questions
Magenta blotching in skin tones can be intense. Moving Magenta toward Red in the Hue vs Hue tab, and/or lowering Magenta in Hue vs Sat tab helps.
Halation and flaring are very very subtle. Not necessarily a problem, but need more testing conditions to see how it reacts in more intense scenarios.
Too Many Pieces!! The current process relies on three stacked adjustment layers, AND a grain layer.
That’s way too many moving parts to balance quickly, and can make troubleshooting image issues difficult with so many variables.VFX Pipeline, what needs to be done to make quick iteration of VFX work, well, quick, while still keeping the full film emulation effect?
Future Proofing, how does the emulation pipeline react to SLog2 or other LOG images once processed?
Grain, there has to be a better way of getting grain than using a looping video file. Look into generating grain procedurally, and how grain is actually generated on motion picture film, where it is most visible, etc.
#NerdyFilmTechStuff Details:
• All images are stills from the test footage we shot on June 16th, 2021. Captured on the original Sony A7S paired with a Ninja V recorder. Captured in 4K ProRes LT, in a custom Cine4 gamma.
• This is the first FULL implementation of my film emulation pipeline. (MRM Film Emulation version 1.0, I guess.) I've adopted the idea of developing a custom "film stock" so to speak. Something that reacts consistently to images across a wide variety of exposures and color makeups.
• Ava is the first film I'm shooting with the Rokinon 35mm T1.5, and I've been much happier with the results here rather than my initial tests.
There's a really great, clean image at T/2.8, which when paired with the film emulation pipeline gives it a really nice rendering to skin and highlights.
Free LUT
I’m not a huge fan of using LUT’s as a fix-all solution, but it can be helpful for a starting point. Below is a link to a Google Drive folder, which at the time of writing has a single LUT: the Simple Ava LUT.
The LUT was made from the hero image used through this articlee.
DIRECTIONS:
In DaVinci, go to your RGB Mixer: F
or Red Output, move the R slider value to 1.50.
Do the same for Green Output and G, and Blue Output and B.
Your results should look like this:
Optional: in your Primaries tab, drop the "Color Boost” value to -10.0, and raise the Color Saturation to 75.00
That’s it! You’ve got a starting point.
Get The LUT
Watch the demo footage below:


